Adding Signals
At the end of Points And Stops we had an oval of track with a passing loop and a train going round. The train stopped abruptly at the stop. We need to add some signals to the layout to control the train movement.
Creating Signals
Open the tutorial layout created in the previous steps and turn on track aids so that you can see the nodes.
Right click on a node and select "New Signal" from the "Signals" sub menu:
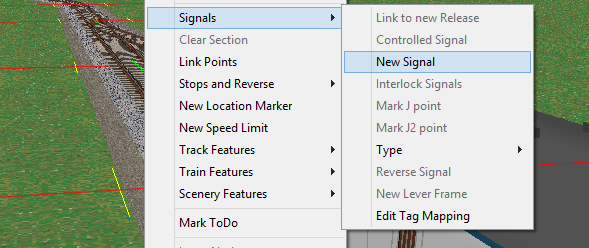
We will need to create at least two signals for this layout, create signals a) to leave the passing loop b) to enter the passing loop:

Check that the signals point in the correct direction, by double clicking the signal node so that the signal dialog appears:
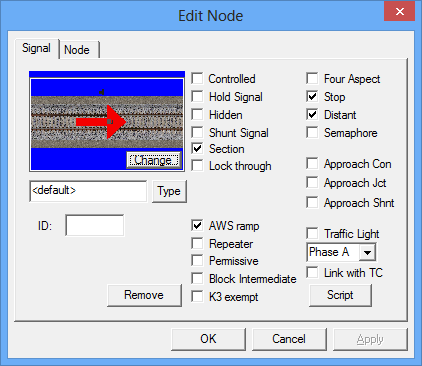
If the arrow points in the wrong direction ( as above), click the "Change" button to reverse the signal direction.
You should also tick the "Controlled" option on both signals to make both signals a Controlled Signal.
Click "OK"
Once you have done this, run the train and watch how it interacts with the signals.
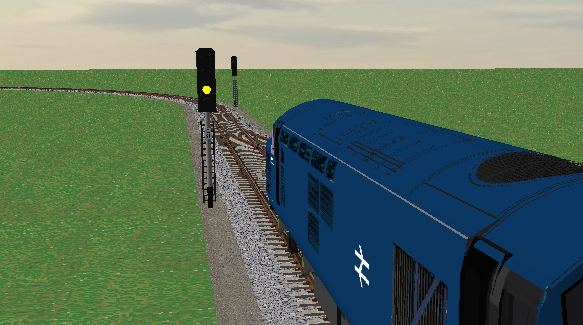
You may find at this stage that the signals will not clear, this can be for a number of reasons, try the following:
- Remove the alternate "*" from the point at the entry loop so that the train is only routed through one side of the loop.
- Add a signal to the other side of the loop (and make sure it is pointing the right way)
- Select "Clear All Routes" from the "Signals" menu - this resets all the signals and clears any routes currently set.
Once you have the signals and routes correctly set, you should find:
- The train slows down correctly when approaching the stop (it might not slow down completly in this small sample layout, depending on exactly where you place the signals, but you should at least see it start to slow down)
- The signal after the stop clears when the train is ready to leave
- The train completes the loop and repeats the cycle
A second train
Now that we have some signals in place we can add another train:
- Add two signals for a train going in the other direction. (dpn't forget to make them controlled signals)
- Change the routing on the le point to route a train into the other side of the passing loop.
- Add a stop for the other train:

You can now add another train, and send it round the loop in the opposite direction (try the 3 car DMU from the units/DMU/1st Generation folder):
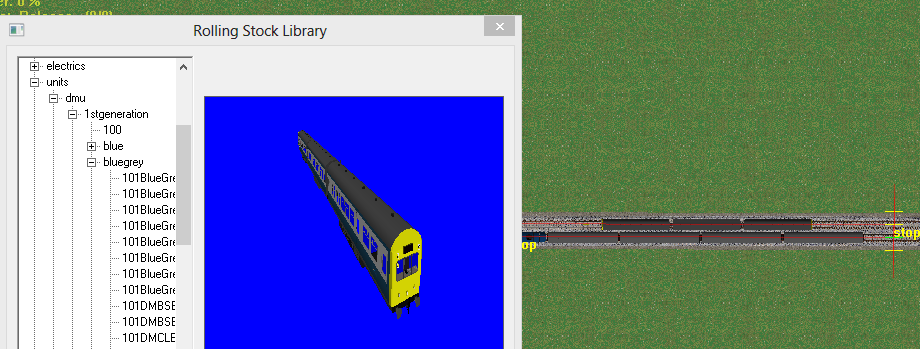
If the DMU runs in the wrong direction, use the revese button on the toolbar to change its direction.

You should now have two trains running in opposite directions round the layout:
If you have problems getting this layout to work, you can download the layout here - look at how the signals and points are set in the layout to see how they shoud be configured for this example.
Changing Signals
If you want to, you can change the signal type. To do this, double click the signal node to open the signal dialog, and click the "Type" button to open the signal library:
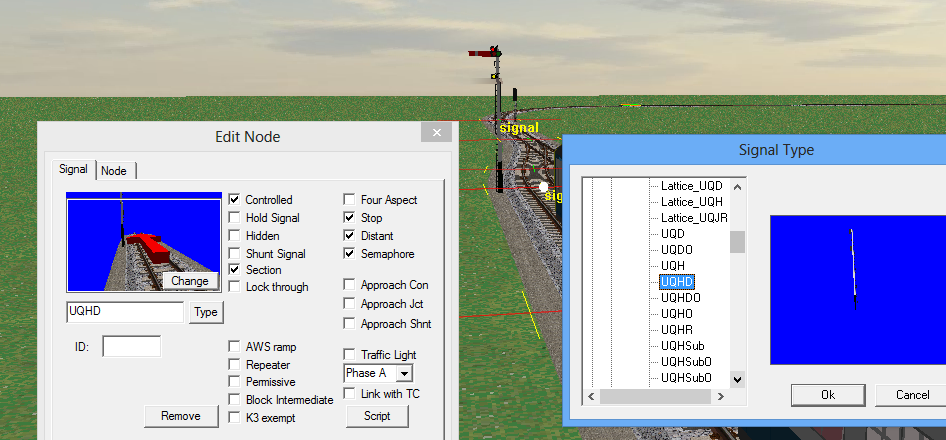
select a suitable signal type, and click "OK" to change the signal type.
When you have finished, save your layout.
More On Signals
in the next Tutorial, we will start adding some landscape to the layout.
Tutorials
Terrain And Landscape
MRG 9/26/2014 8:13:06 AM