More on Signals
Signals are one of the most important elements of Rail3D: they control the movement of trains, keeping the trains apart and "informing" trains about the route ahead, which route to take and where to stop etc.
Controlled and Automatic signals
Rail3D signals are either "Controlled" or "Automatic" - the difference is important.
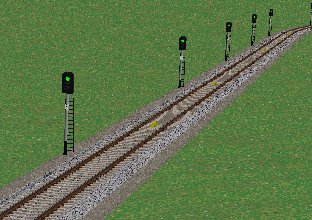
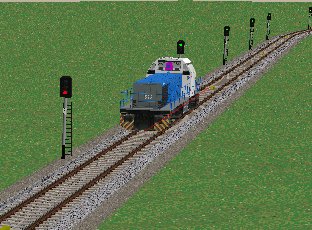
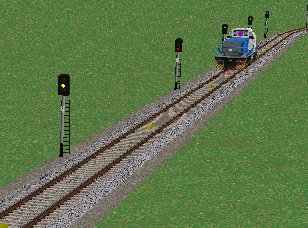
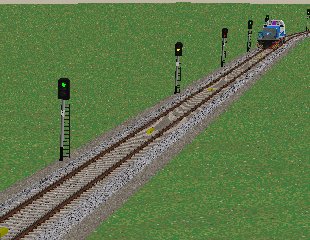
Starting with "Automatic" signals, automatic signals are used on plain track with no points/switches. Automatic signals normally display clear (green) and only display stop or caution if the line ahead is occupied.
Controlled Signals
Controlled signals are more powerful than automatic signals as they can do more things incliuding routing through points/switches.
Controlled signals are normally at stop (red) and only clear when a train needs to run through the section.
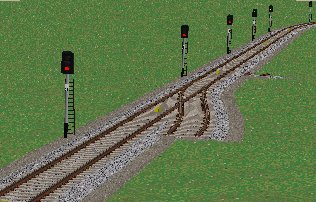
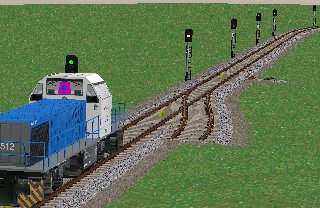
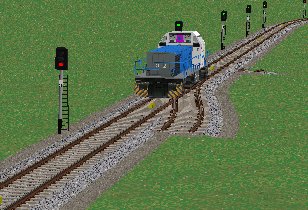
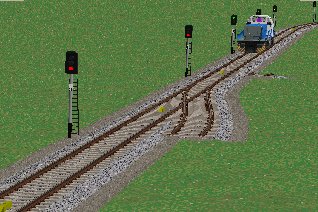
However, the most important capability of the controlled signal is the ability to route the train according to the route settings.
An example of controlled signals - a runround yard
Look at this simple shunting yard layout:

- Trains arrive from the left.
- An incoming train should be routed into any free road
- The loco should uncouple at the uncouple point on the right
- Loco should run into the headshunt on the right and reverse
- Loco should run through a free road to the reverse at the left
- Loco should then couple up to stock in the yard
We'll start by setting up the routing
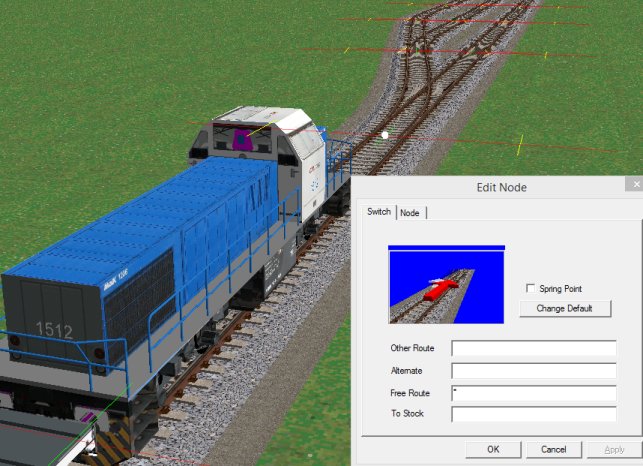
Incoming trains should be routed to any free road, so we put "*" in the "Free Route" box of the entrance point/switch (both points as this end of the yard)
We set the uncoupless so that the loco uncouples from the stock:
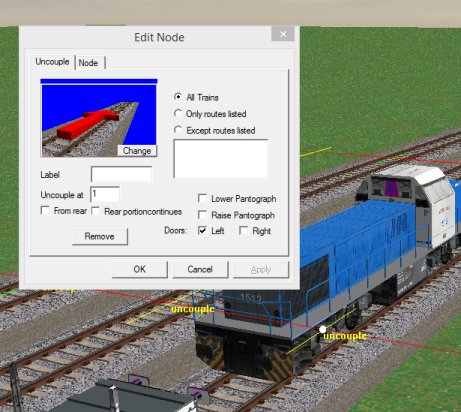
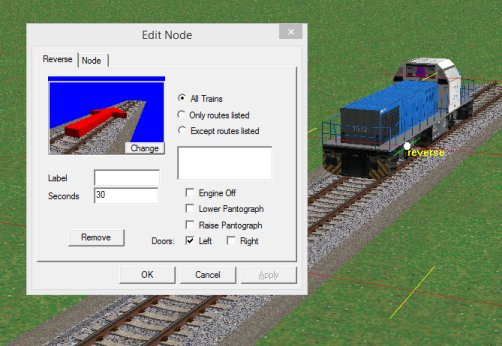
The loco then rusn forward into the headshunt and reverses
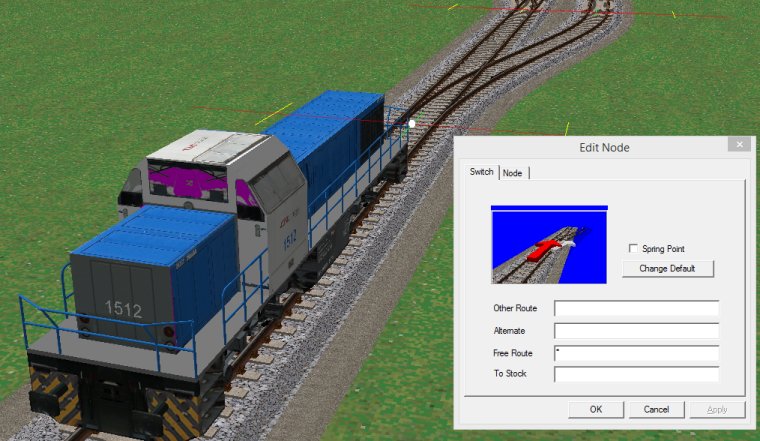
When the loco runs back the routing on the points needs to be set to route the loco through any free line:
The loco runs back through the yard and reverses at the other end:
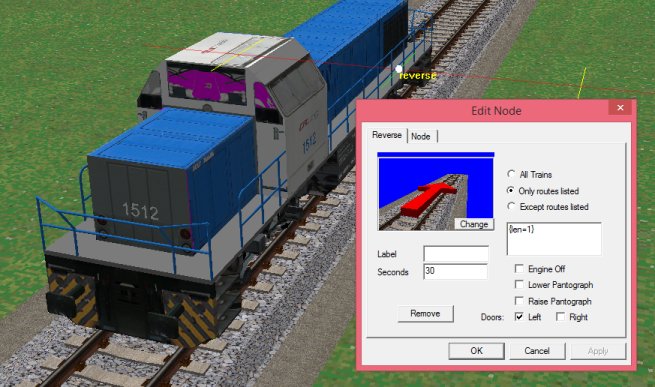
Note that we set the reverse to "Only routes listed" and put "{len=1}" in the box below.
This means that the reverse only applies to trains of length 1, ie a loco on its own. When the train leaves the yard it won't be effected by this reverse (since it will have len > 1)
When the loco runs back, we need to modify the routing on the yard entry points:
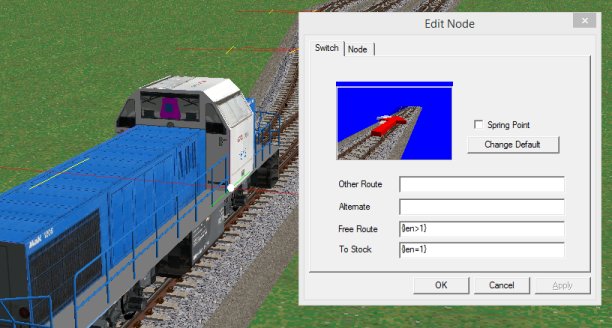
So we set the points as above:
Free Route = {len>1} ie, if length is greater than 1 (ie a train) is routed to any free track
To Stock = {len=1} ie if length is 1 (ie a loco on its own) will be routed to a track where stock is waiting
Finally we need a "Shunt" feature to tell the loco it should couple to the stock:
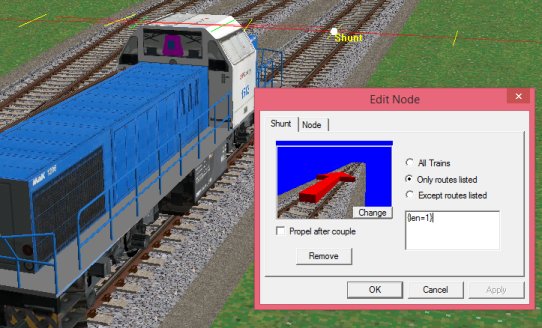
Note that we set the shunt to apply to "{len=1}" only. This is so that an incoming train does not couple to the stock, but only a single loco will.
The Loco should couple to the train and then pull out of the yard.
With all this, the run-round will work - we haven't got any signals in the yard yet, we will come to that in a moment.
Build the yard as above, set the routing, reverses, uncouples and shunts and check that a loco uncouples and runs-round the train correctly.
OK, the run-round yard works with one train, but watch what happens if we introduce a second train:
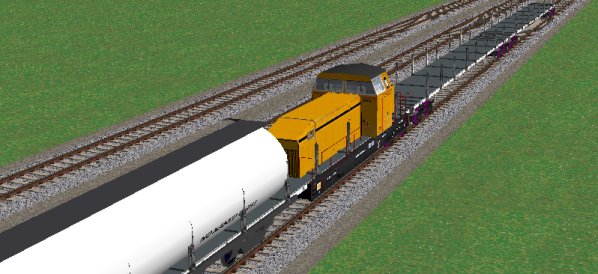
The second train runs onto the same track as the first. This is where we need signals: signals keep the trains apart and allow the routing options to operate correctly.
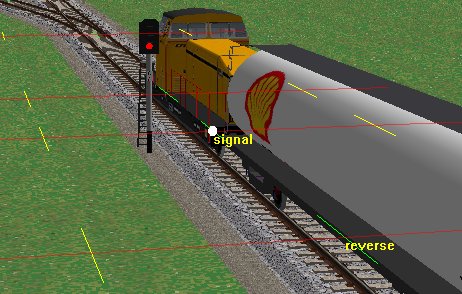
Here I've inserted a signal between the reverse and the first point/switch.
The signal above is an automatic or un-controlled signal. In this case the signal will never clear. This is because an automatic signal can't handle the routing through the points.
Set the signal to be "Controlled" by right clicking the signal node and ticking "Controlled signal" or by double clicking the signal node and ticking "Controlled" in the signal dialog:
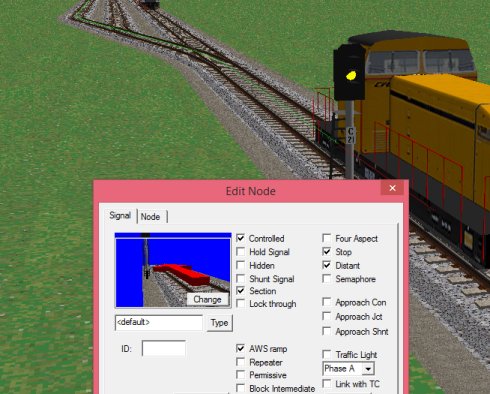
When the signal is controlled it can now route through the switches correctly and the incoming train is now routed to a free route as we expect.
Note that in the above picture I have turned on "Signal locking and routing" from the "View" menu. When this is turned on, Rail3D draws a green line to show where the route is set. This is useful when testing point and signal routing.
So now the incoming train is correctly routed to a free track.
Now consider the headshuint end of the yard - suppose two trains arrive close behind each other - we don't want both locos to run into the headshunt at the same time, so we need signals to control the headshunt:
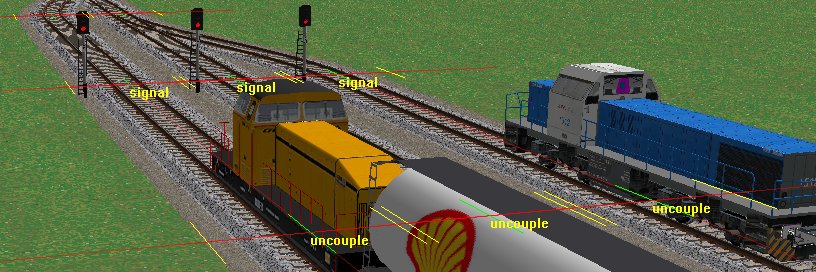
Set the signals to controlled and you will find a) the signals can clear b) only one loco is allowed into the headshunt at a time.
Next we need a signal to control the loco leaving the headshunt and make sure it takes a free route through the yard:
Again, these need to be controlled signals, for two reasons:
- Automatic signals won't clear in the above plan because of the pointwork
- Controlled signals can detect if another signal has set a route, so you won't get two signals clearing at the same time if they are controlled signals.
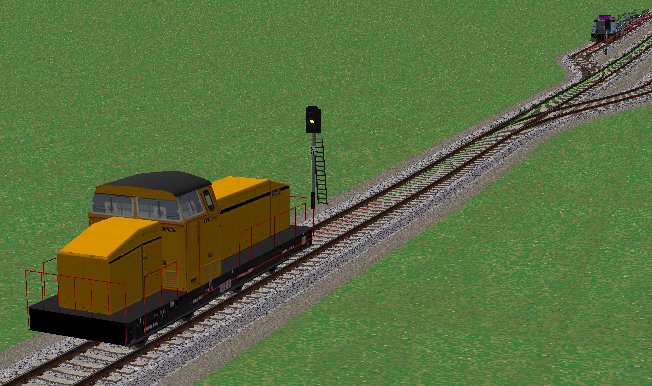
and this of course needs to be a controlled signal as well.
And we will need some signals to control the other end of the yard:
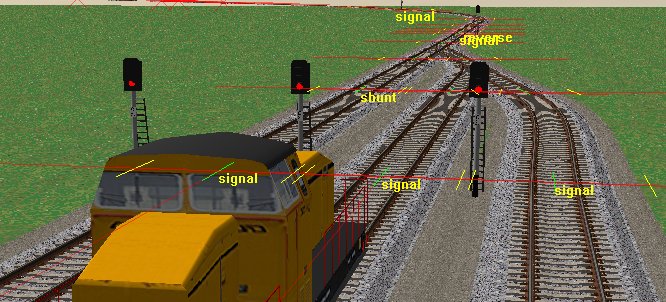
(controlled again)
And the final setting we need is on the signal controlling the loco shunting back to the stock. If you have been following the above and trying it out (you should!) you will find the signal never clears for the loco to shunt back to the stock. To enable this, we need to tick "Shunt Signal" on the signal dialog: this allows the signal to clear for a shunt movement.
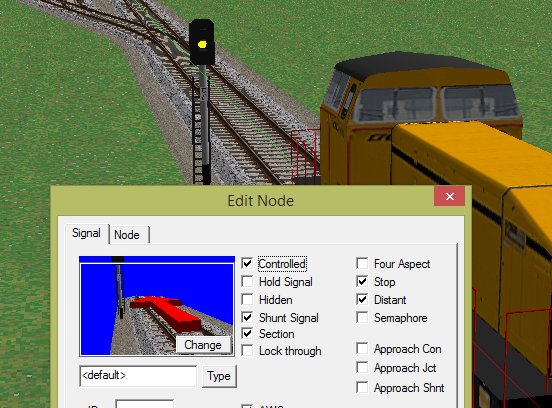
And that's it, the yard should operate correctltt now with two trains, and allow the locos to run round in a controlled fashion and couple up to stock etc.
Some questions
Since controlled signals are more flexible and powerful than uncontrolled, why not make all signals controlled?
You could. Some signal models default to controlled anyway. But the uncontrolled type is the most common type on UK mainlines, so if you are signalling a long line of track (especially using the QuickSigs tool) you would want a lot of automatic signals. On some european and US railways the signals are usually at danger/stop so the controlled model is more appopriate, hence the signal model has controlled as the default
But I don't want those signals in my yard, they look wrong
Not a problem. You can either change them and use a different signal model (eg shunt or ground signal) or if you do want to see anything, you can tick the "Hidden" box on the signal dialog. Then the signal will be invisible - it will still be there controlling the train movement, but won't show.
And what are all those other options on the signal dialog?
- Change - sets the direction the signal applies to
- Type - allows you to change the signal model used
- Controlled - we've discussed
- Hold Signal - a hold signal is one that is held at stop/danger until a train triggers a release feature somewhere else in the layout
- Shunt Signal - allows a signal to clear for a shunt movement
- Section - is applicable to semaphore block signals, see semaphore signals
- Lock Through - if this is ticked, a train is only allowed to run to the signal if the route ahead is clear, this can be useful on single line routes with passing loops for instance
- Four Aspect - for UK operation with Red-Yellow-Double Yellow-Green sequence, allows the Double yellow aspect to apply
- Stop - means the signal is a stop signal
- Distant means the signal is a distant signal. Note that a signal can be Stop and Distant (the default) if you want a pure distant signal you need to clear the Stop flag
- Semaphore - for semaphore signals, changes the way the signal is cleared and returned to danger
- Approach Con - means the signal does not clear until an approaching train is close to the signal
- Approach Jct - means the signal does not clear for a diverging route (ie not the main route) until the train is close to the signal
- Approach Shnt - the signal does not clear for a shunt movement until the train is close to the signal
- AWS ramp - an AWS ramp is drawn for the signal
- Repeater - signal is a repeater and not an actual signal
- Permissive - allows more than one train into the section ahead under permissive working rulws
- Block Intermediate - for signal line allows two trains to follow each other through a signle line block but not allow two trains in opposite directions to get stuck
- K3 exempt - K3 is the rule that a driver held at a signal must report to the signalman. If K3 exempt is set a train held at the signal won't raise the "Train held" alert
- Traffic light - for roads. Means the signal changes on a timed cycle instead of according to trains routing. See also phase drop down, allows you to have to to four different traffic light phases (eg at a crossroads)
- Link with TC - for use with traffic lights, means the traffic light is aware of the state (track circuit) of any railways across the road section.
MRG 9/26/2014 9:52:12 AM