A first look at Rail3D


Run the Rail3D program.
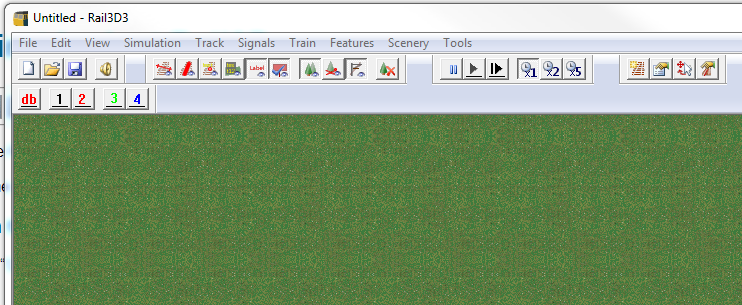
After the program has loaded you should see the application window with a blank layout window open.
Open the demo layout
Select “Open” from the “File” menu and select the demo layout. Layout files have the extension *.trk3. The demo layout is installed with Rail3D and will be in the layouts folder.
Usually, when a layout is opened for the first time, the view will be pointing at a train.
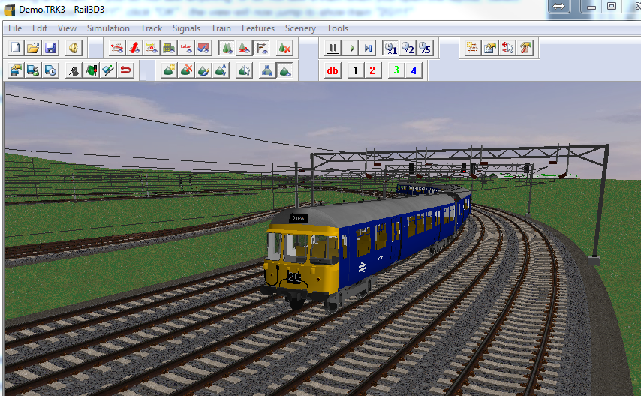
If you do not see anything, or do not see a train when you open the layout, Select "Find Train" from the "Train" menu and scroll the list until you find train number "2G11", click "OK" - the view will now jump to show train "2G11"
Following a train
On most layouts the view will be pointing at a train when the layout opens: as the train moves, the view moves to follow the train - this is called "Following" the train.
If you do not see anything, or do not see a train when you open the layout, Select "Find Train" from the "Train" menu and scroll the list until you find train number "2G11", click "OK" - the view will now jump to show train "2G11"
You can change the viewpoint as the train runs round the layout:
- Press the [1] key to change to the cab view mode:
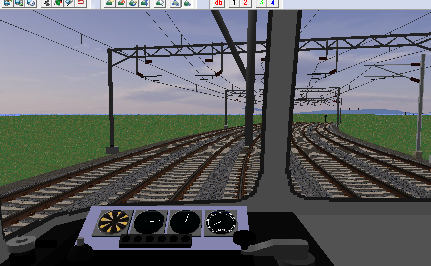
- Press the [2] key to change to the outside chase view.
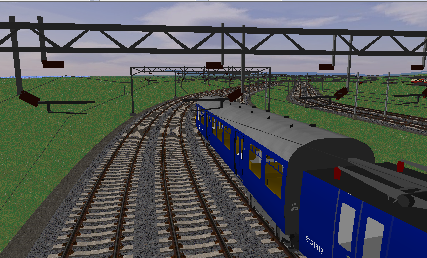
- Press the [3] key to change to a view at the rear of the train.
- Press the [5] key to change to a plan view.
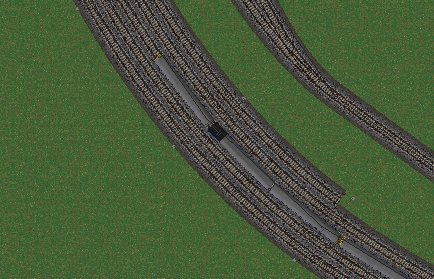
You can change the view position using the arrow keys
- [left arrow] rotates the view to the left
- [right arrow] rotates the view to the right
- [up arrow] moves the view in towards the train
- [down arrow] moves the view out, away from the train
- [Page Up] key moves the camera viewpoint up
- [Page Dn] key moves the camera viewpoint down
If you want to stop following the train: select Stop Following from the Train menu.
If you want to change to following a different train, Select Find Train from the Train menu, choose the train from the drop down list and click OK.
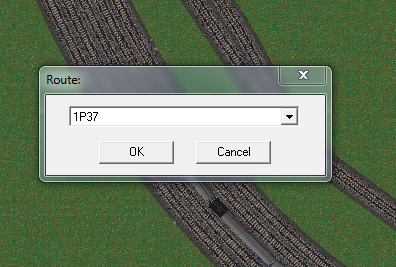
You can select the train using its Route number or the stock number of the loco.
Moving around the layout.
You can also move around the layout when you are not following a train.
Select Stop Following from the Train menu, then press the [5] key to select the top down overhead view.
- Put the mouse in the centre of the window.
- Hold down the [CTRL] key.
- Move the mouse a little way : the display scrolls in the direction of mouse movement. It can take a bit of getting used to as the display can move quite fast if you are not careful.
- Release the [CTRL] key to stop moving.
If you get lost, you can return to the original position by pressing the [Home] key.
Zoom the layout
Click the [-] and [+] buttons on the numeric keypad or use the scroll wheel on your mouse to zoom in and out.
Layout Map
You can view a map of the layout, by selecting Map from the View menu:

The view shows the trains as moving dots on the map.
Head Up Display
You can turn on the Head Up Display (HUD) by selecting "Head Up Display" from the View menu menu, or clicking the HUD icon on the toolbar:
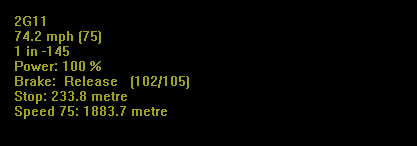
The Head Up Display shows useful information such as route, speed and distance to next stop in the corner of the program window.
Train Roster
The Train Roster (in Train menu) shows a list of all the trains on the layout:
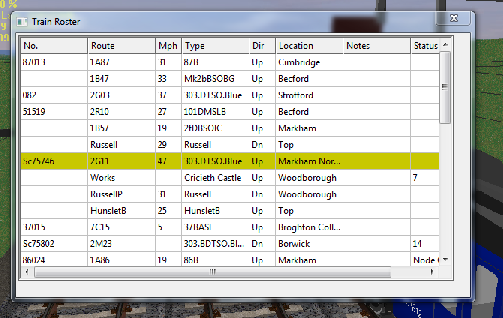
Roster information includes train number, type, speed and location and the roster is useful for keeping an overview of what is going on on the layout.
Steam
Rail3D models include many different types and nationalities of train. The demo layout includes a narrow guage steam line:
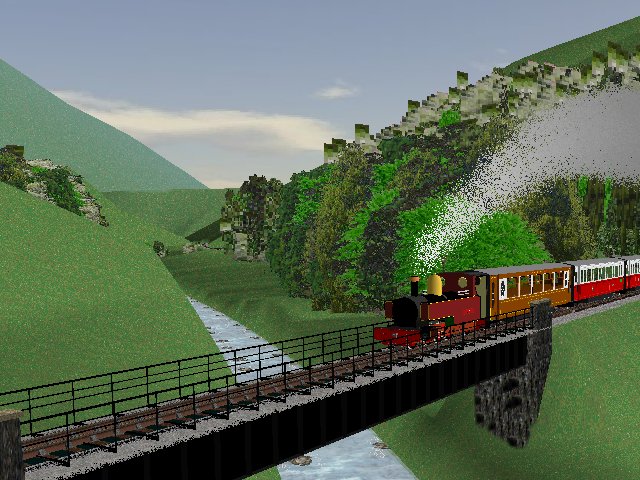
To see the steam line, use the Find Train command and select "Russell" from the drop down list. Alternately, if you still have the train roster open, find "Russell" in the roster an double-click the "Russell" row: this will select the train as the followed train.
Note, there may be a pause while Rail3D moves the camera focus to a new area of the layout. This happens while Rail3D unloads scenery from the old area and prepares the scenery in the new area.
Signalling
You can also operate the signals in Rail3D, there are two types of signal control: modern control panels, and traditional lever frame signal boxes.
Signal Panels
In the demo layout, select "Open Panel" from the "Signals" menu, a drop down appears - select the panel to open (in the demo layout, open the "Markham" signal panel):

The signal panel shows the tracks and signals in the control area, occupied track sections show red, routes set up show green.
For more information on operating a signal panel see --todo--
Lever Frame boxes
--todo--
Tutorials
Files and Folders
Using The Updater
MRG 7/3/2013 12:01:46 PM