Tips and Tricks for creating layouts
Laying track in Rail3D is easy - just point and click. But making the track look good takes practice. Here are some tips.
Snap the track
When laying track, turn on "Track Aids" in the "View" menu (F6)
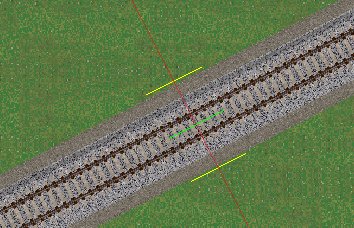
This makes it easy to lay parallel tracks at consistent width, and if you line up the nodes on adjacent tracks, the track will look better, and things like OHLE poles will line up neatly.
See also the various "Snap" controls in the track laying dialog:
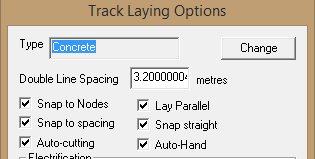
Generally having all three snap options and "Lay Parallel" ticked will give the best results.
Marker Tools
The marker tools are very powerful and useful ways to clean up poorly laid tracks, and they can sort out miles of track in one click (or if you get it wrong, mess up miles of track ...)
Here's some poorly laid track:
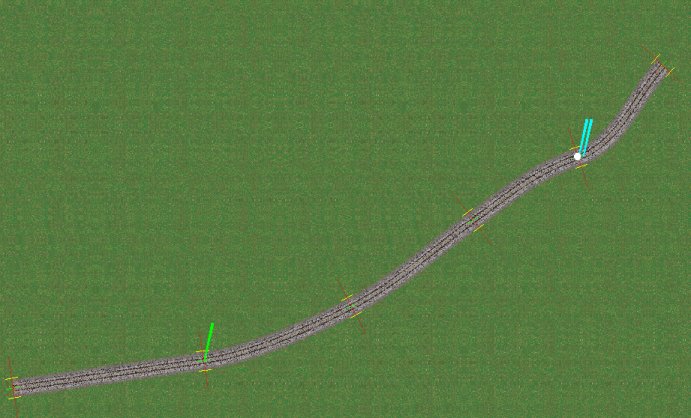
It should be straight between the markers, so I put the markers on the nodes, and use "Straighten between Markers":
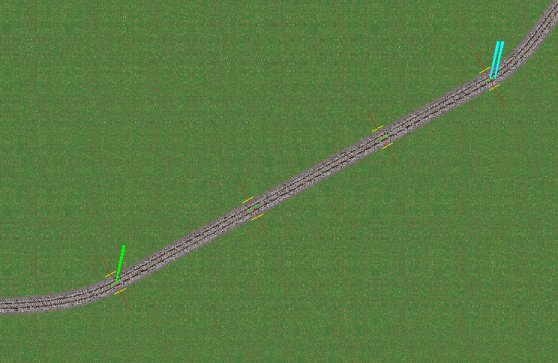
Similarly, grade between markers is a powerful tool for setting slopes and gradients.
For example if I know Station A is at elevation 100m, Station B is at elevation 150m and station C is at elevation 90m, I can set those stations to the elevation I want, put marker 1 on Station A, marker 2 on station C and use "Grade between markers" to grade the line between. This is quite powerful and can do miles of track in one go.
The Track Setting train
The Track setting train is another powerful tool for changing or updating track.
Suppose you have laid a lot of line using wooden sleepered track and you want to change it to concrete sleepered track (etc). Run the track setting train over the line and it will change the track as it goes.
The track setting tool is also useful in conjunction with the above marker tools.
Suppose I have two lines of poorly laid track:
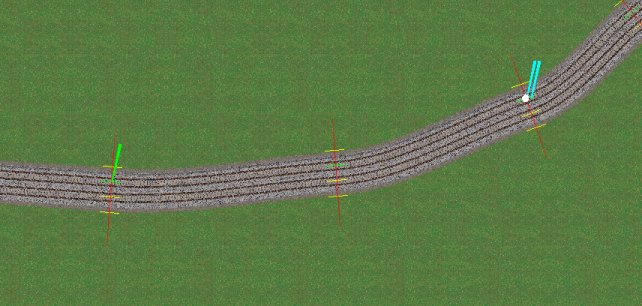
If I put markers on the one line and straighten it (or grade it):
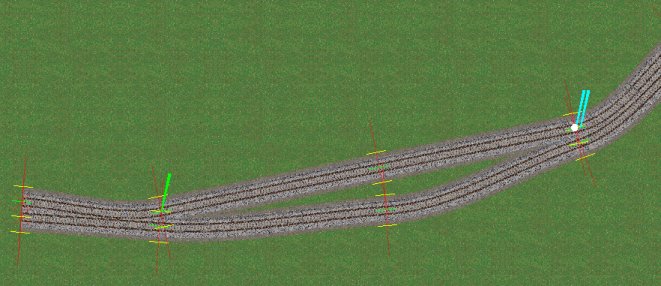
it will straighten only one line, but if I run the track setting train over the route, with "Snap left/right" set:
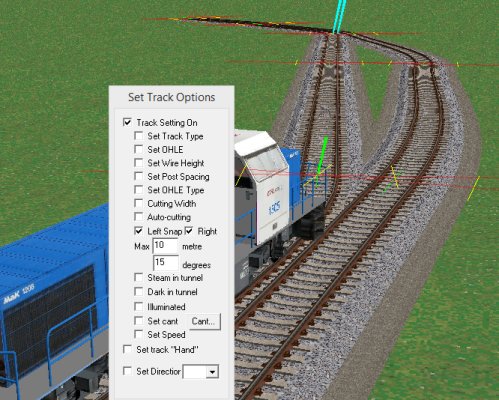
It will pull the adjacent line into line as it goes:
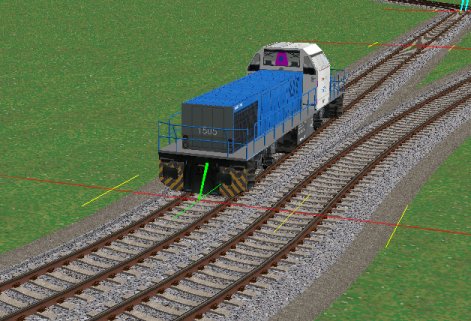
Creating parallel lines
Often you will want to create double (or more) track. The best way to do this is to lay one line - sort out the alignment, gradients etc for this line and then use "Quick Track" to create a parallel line.
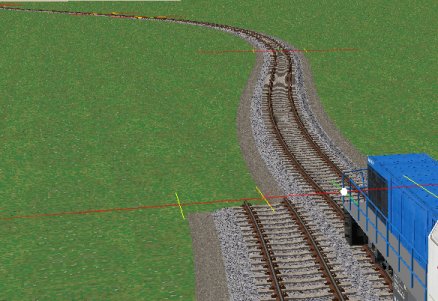
- Click on the first node of the new track (as above)
- Select "Quick Track" from the "Track" menu - Rail3D creates a new parallel track for you:
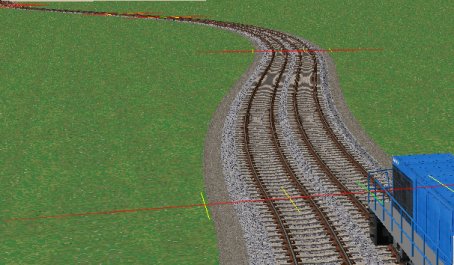
Again "Quick Track" will create miles and miles of track with one click if you want it to, and it will create a third and fourth track if required. Quick Track stops when it gets to the end of the track it is following, or if it comes to pointwork.
(There is also a macro for "Quick Delete" which will delete miles of track in one go)
Creating nice arcs
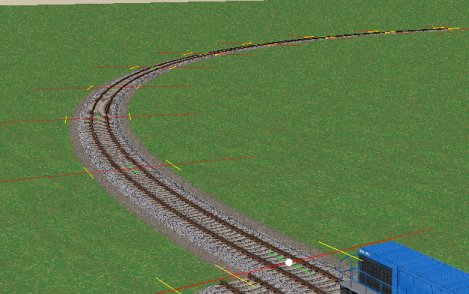
It's difficult to create smooth arcs by freehand: there is a macro for create arc. The macro asks you for the radius, number of steps, and degrees of arc, and will produce a smooth curve as specified:
Pointwork
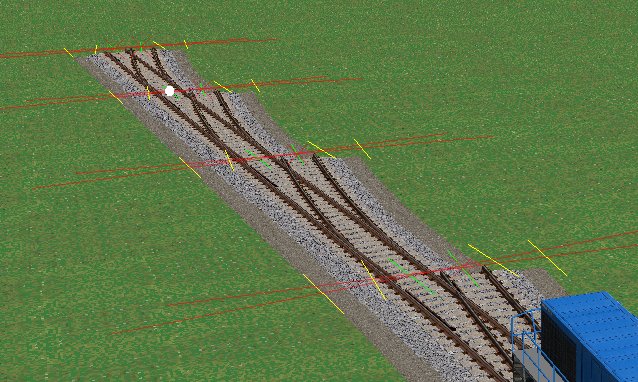
Similarly, neat pointwork is hard to do freehand. There are macros to create points:
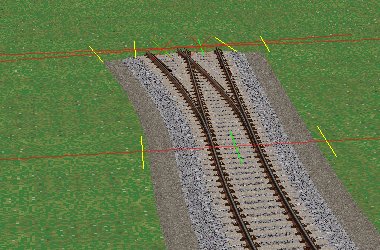
and a series of points created with the macros will have a neat and consistent geometry:
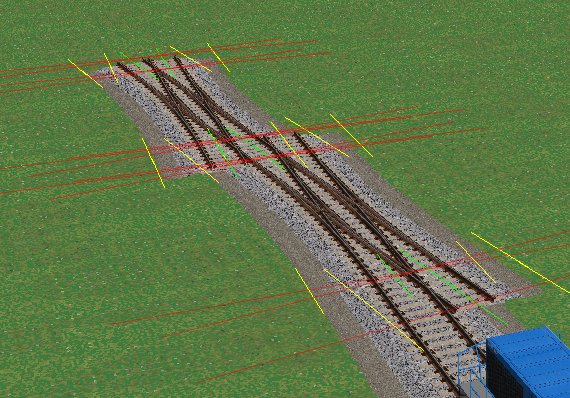
There is even a macro to create double slips:
MRG 9/26/2014 12:28:30 PM