Adding scenery to a layout
Adding Scenery
1) Adding simple scenery items to the layout
- Open the scenery library by selecting "Show scenery Library" from the "Scenery" menu
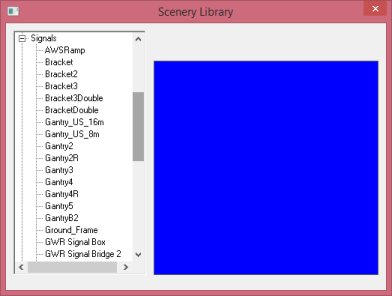
- Browse the libary to find the items you want to add to the layout. (Scenery is organised in folders and sub-folders according to type)
- Find the item you want and click it in the list on the left. A thumbnail of the item will show in the preview pane.
- To place the item in the layout, use the mouse to drag from the preview and drop the item on the layout:
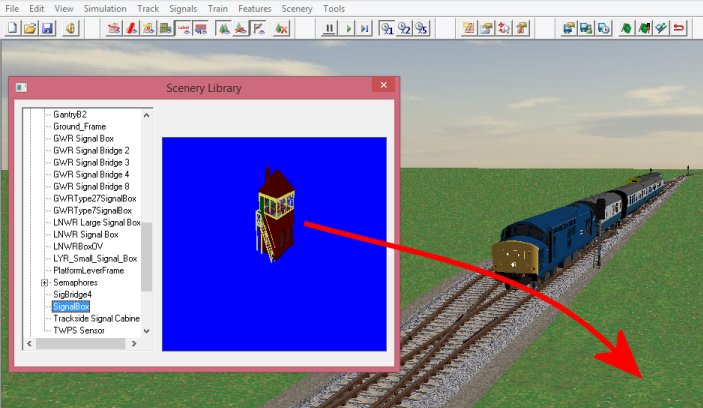
- The item will be placed in the layout.
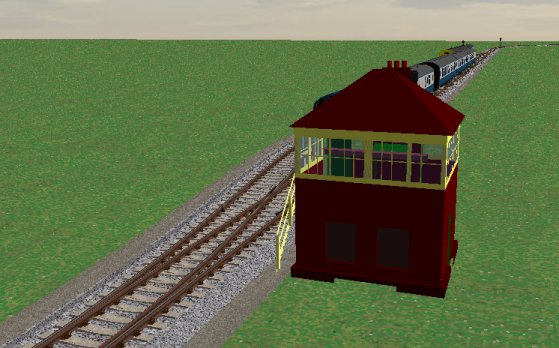
2) Moving and positioning scenery items
You will usually need to move the scenery item and/or rotate it to get it into the right position.
- To move a scenery item, turn on scenery markers from the toolbar:

(or select "Show scenery markers" from the scenery menu)
- Change the mouse mode to "move" mode by clicking the "move" button on the toolbar:

- Position the mouse over the scenery item, and the cursor changes to the move cursor:
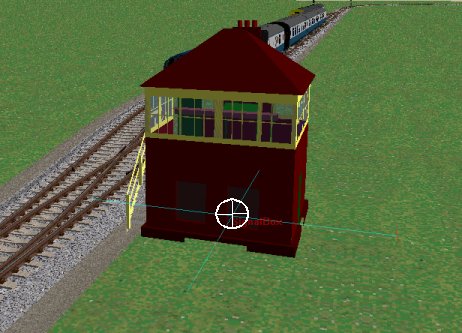
- Click and drag the mouse to move the scenery item.
- To rotate the scenery item, position the mouse on the end of the blue scenery marker cross where there is a red tick (just visible on the right of the above image). The cursor changes to the rotate cursor. Click and drag the mouse to rotate the scenery item.
- You can delete scenery by right clicking on the scenery marker and selecting "Delete Scenery Item"
2) Adding "linear scenery"
Some scenery items, such as platforms are designed to fit along a length of rail - these items are known as "Linear Scenery" in Rail3D.
- To place a Linear scenery platform open the scenery library as above.
- Open the "Linear Scenery" folder and then the "Platforms" sub-folder
- Select a suitable platform type (it may not show properly in the preview window)
- Drag with the mouse from the scenery preview to a section of track
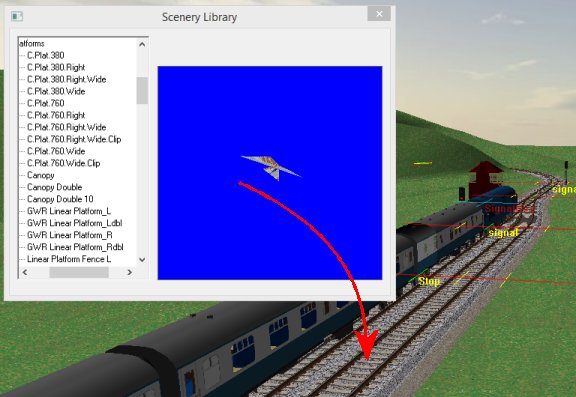
- The scenery (Platform) fits itself to the track and adjusts its length to the length of the track section you dragged it to.
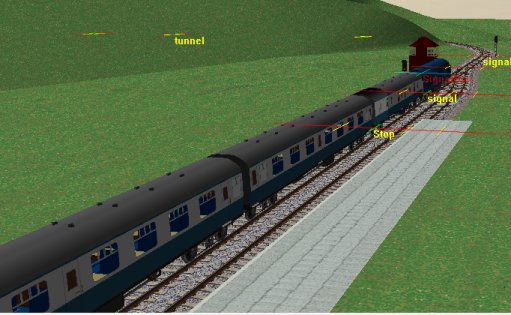
- Note that sometimes the platform will be on the wrong side of the track, in this case, you can either delete the item and replace it with the opposite item (eg Platform_L and Platform_R) or you can right click the track and select "Swap Sides" to swap the track and scenery item around.
- Note that linear scenery fits itself to the track, so if you drop (eg a platform) on a curved section of track, you will get a curved piece of scenery, eg a curved platform.
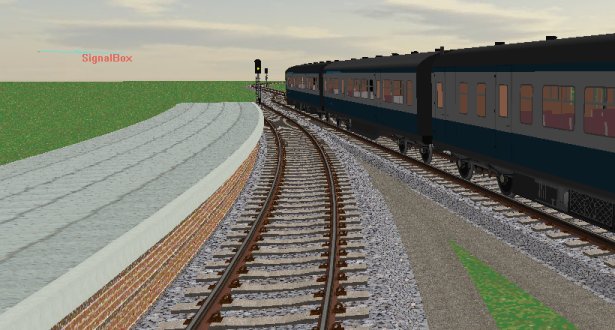
You can delete linear scenery from track sections by double clicking the track link to open the track dialog:
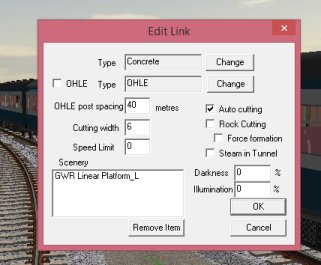
- Highlight the scnery item in the list at the bottom left and click "Remove Item" then click "OK" to close the dialog.
3) Adding trees
Trees (and bushes) are added in a different way.
- To add trees to a layout, select "Tree and Bush Spraygun" from the "Scenery" menu:
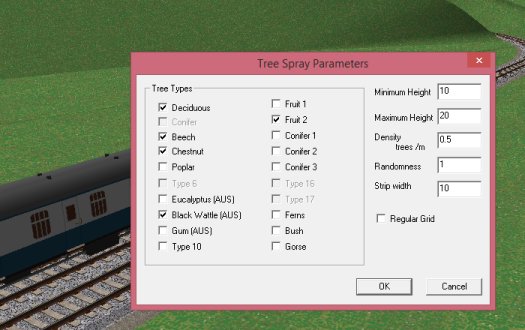
- Select the type(s) of tree you want to create, and choose parameters for tree height, density of the trees, and the width of the strip to be created.
You will need to experiment with these parameters to achieve the effect you want.
- Click OK and then click and drag the mouse across the layout to create trees.

As you drag the mouse, the spray gun creates trees in a strip.
Note, the spraygun does not create trees on top of railway lines or roads.
in the next Tutorial, we will change the track to be Electrified
Tutorials
Electrification
MRG 9/15/2014 4:45:52 PM