Preparing Maps
For this example I am going to digitise part of the route of the Somerset and Dorset Railway (see Wikipedia).
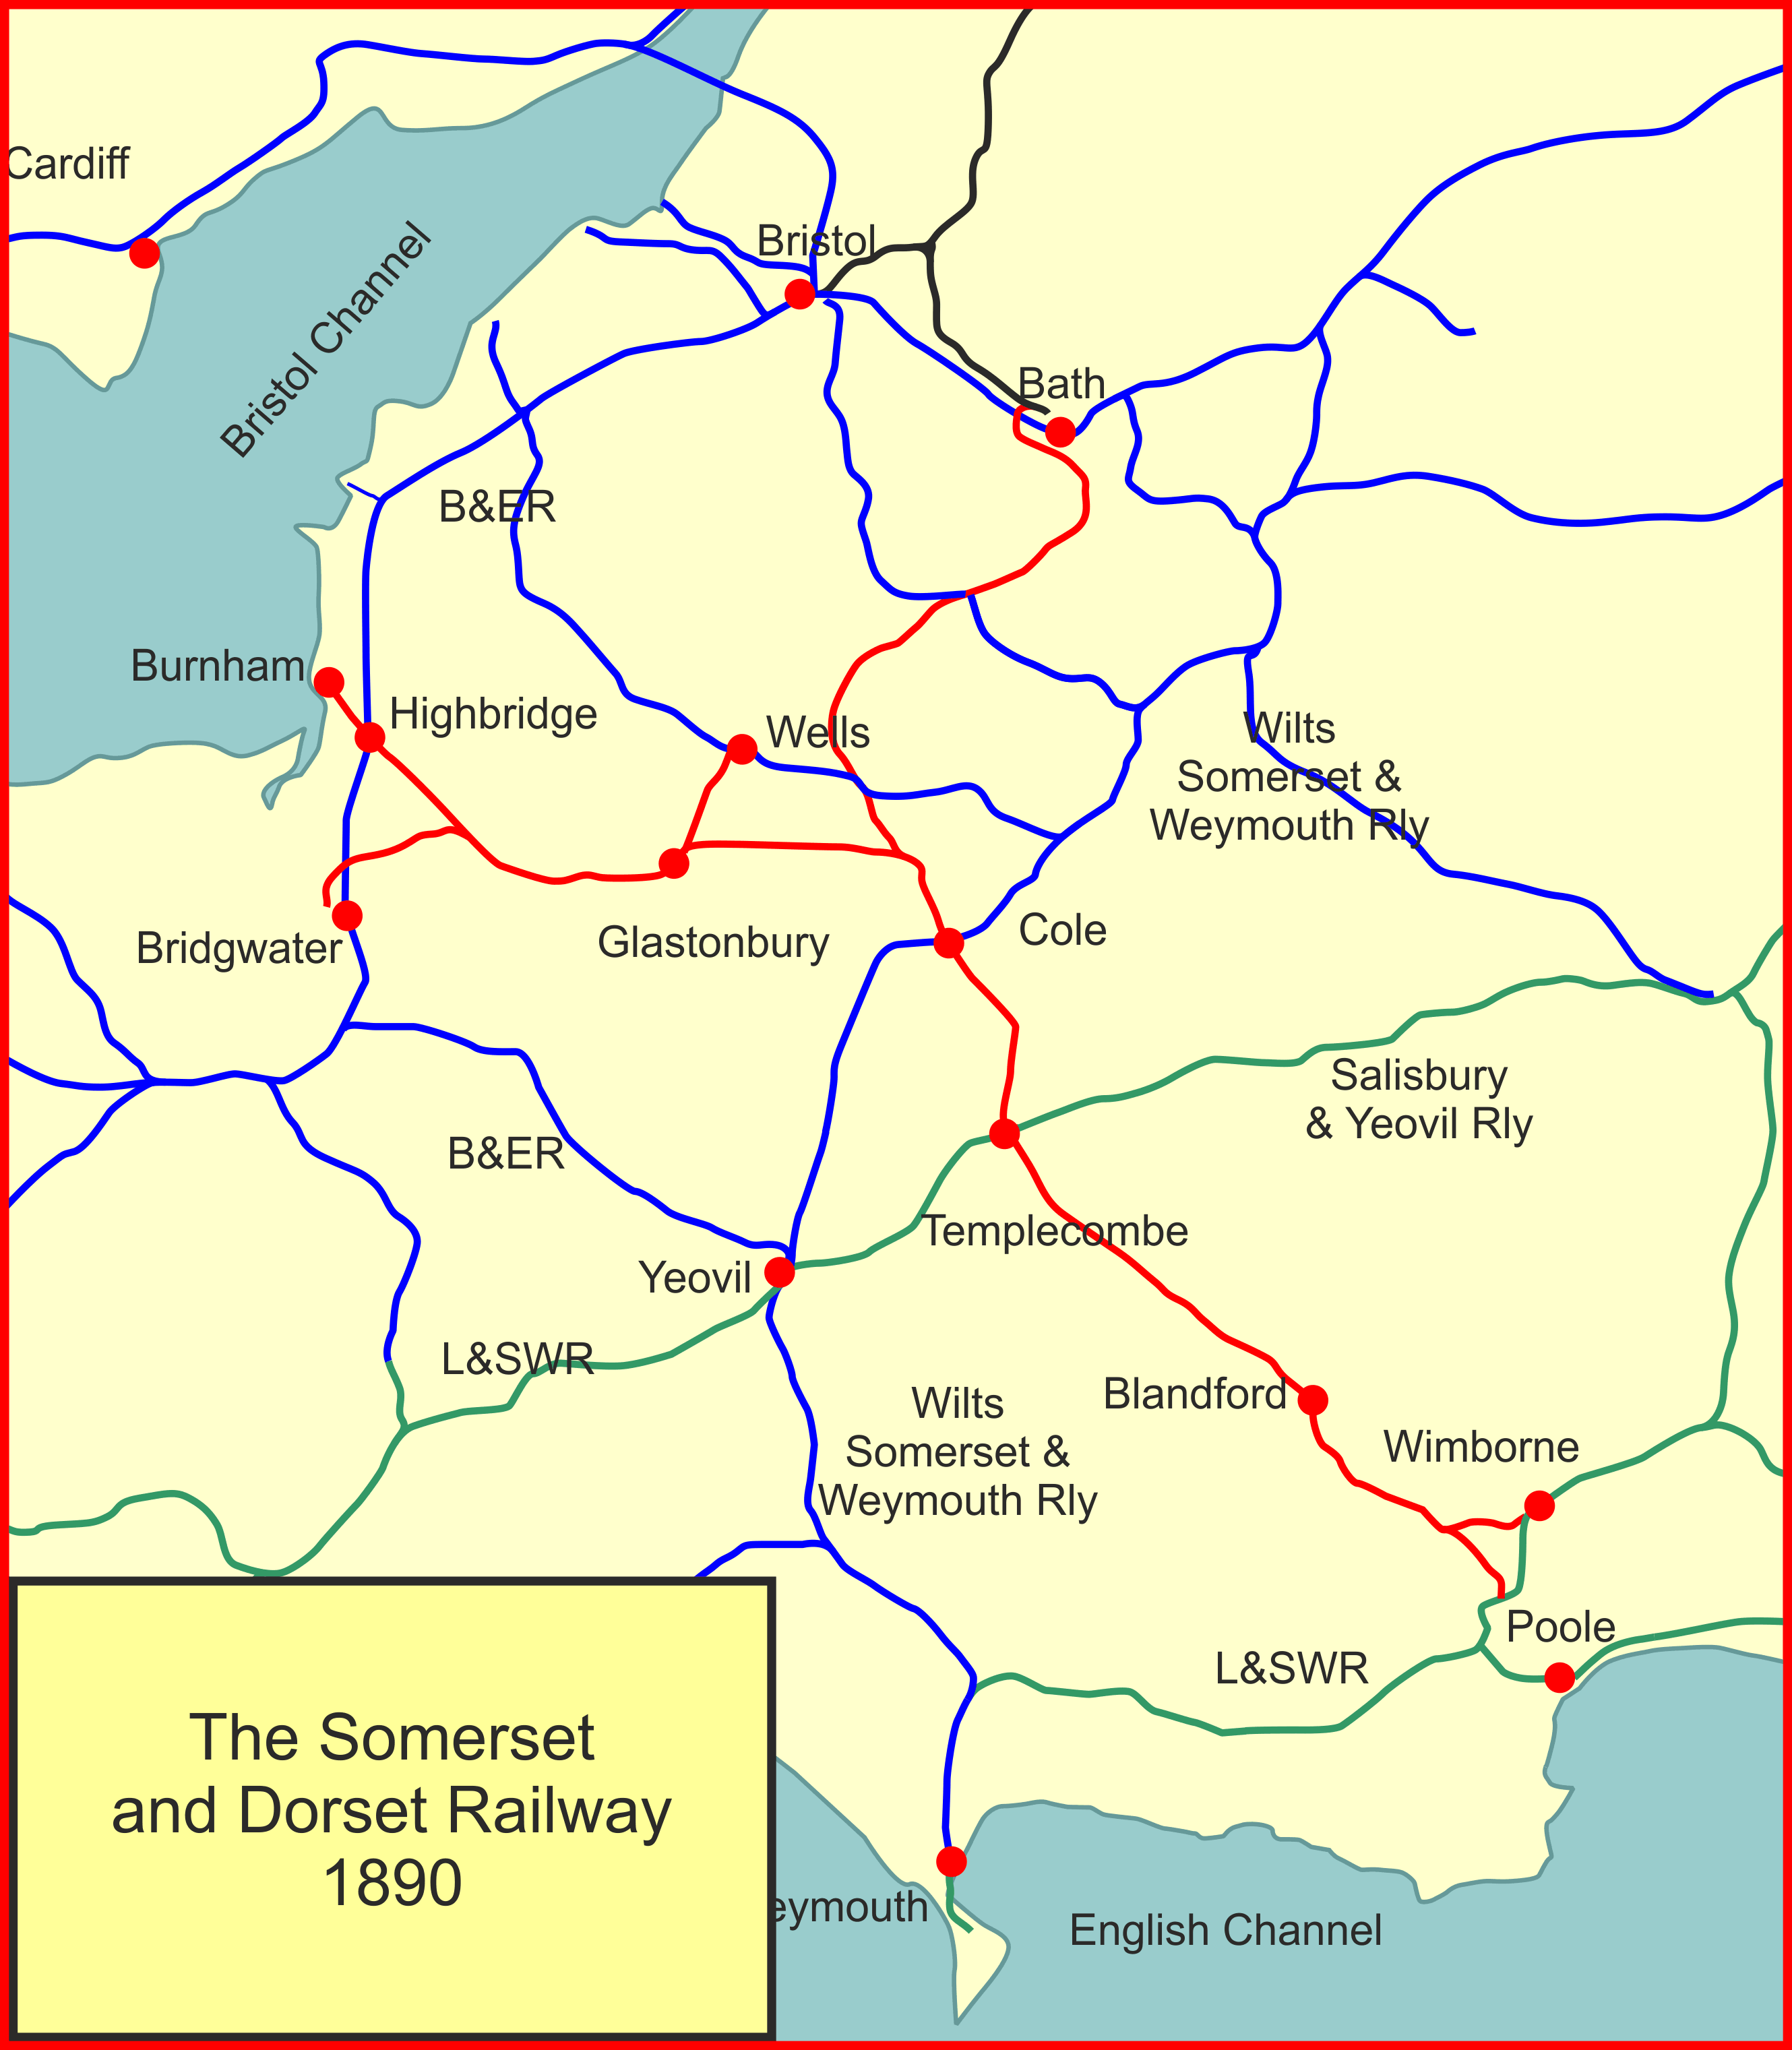
I'm going to use Map Digitiser to download map sections from Open Street Map - I've chosen this source as it shows the disused trackbed fairly well.
Downloading Map Sections
- If you haven't already got it, download and install Map Cailbrator (See Map Digitiser)
- Open the Map Calibrator and zoom in to the area of interest.
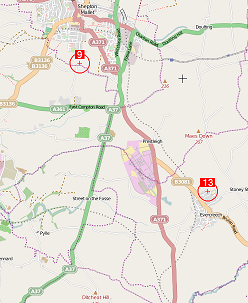
Here I've zoomed into the Evercreech Jct area at the "1km" scale
- Zoom in suffciently that enough detail can be seen. The larger the scale, the more detail can be seen on the map: but conversely more maps will be required and it will take longer to create the map set. On the other hand, fewer maps will be quicker to create, but you will have less detail. You will need to choose the appropriate balance.
- Use "Save Map" to save this map section.
- Move to next section of map and repeat until sufficient maps saved for the whole line
Preparing the digitiser session
- To use the map sessions, we will need to create an XML digitiser session. For this we need to know the minimum and maximum latitude and longitude covered by our map.
- We can get the min and max from the map calibrator program: centre the map on one corner of the area needed - the coordinates are displayed in the window.
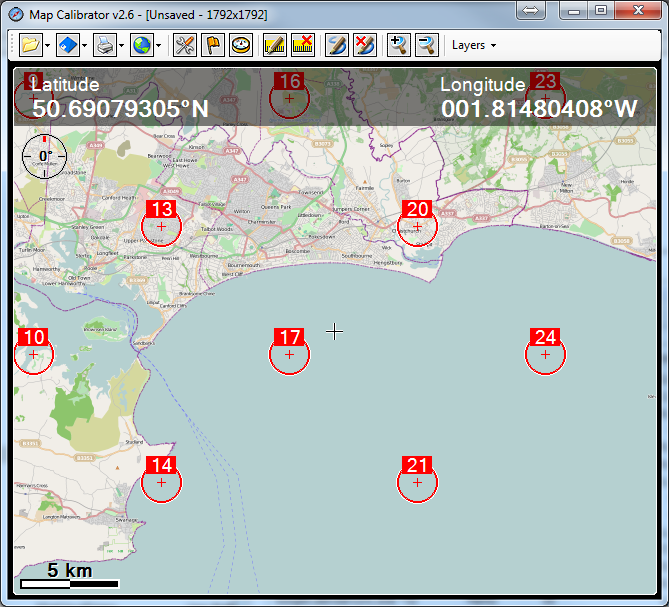
- For our Somerset and Dorset example, the co-ordinates are:
50.69079305 N, 1.81480408 W to 51.58774160 N, 3.14002991 W
- We are going to create an XML digitiser session. This is an XML file like this:
<?xml version="1.0" encoding="utf-8" ?>
<Session>
 <MapFolder>J:\Files\Railway\rail3d\Layouts\SandD</MapFolder>
 <LatMin>50.69079305</LatMin>
 <LatMax>51.58774160</LatMax>
 <LongMin>-3.14002991</LongMin>
 <LongMax>-1.81480408</LongMax>
</Session>
- The <MapFolder> term specifies the folder with the map files in it (change the above to wherever you have the files)
-
- The <LatMin> and <LatMax> terms specify the minimum and maximum latitude for the mapped area.
- The <LongMin> and <LongMax> terms specify the minimum and maximum longitude for the area of interest. Note the longitude west is negative.
- Create an XML file as above (with the appropriate folder path) and save it in the folder with the map files.
Open the map in the Rail3D digitiser
- Start Rail3D
- Open the digitiser tool ("Tools" menu, "Digitiser")
- Select "Load Session" from the Digitiser's "File" menu
- Browse to the folder with the XML file and maps in, and select "XML sessions" from the file type box
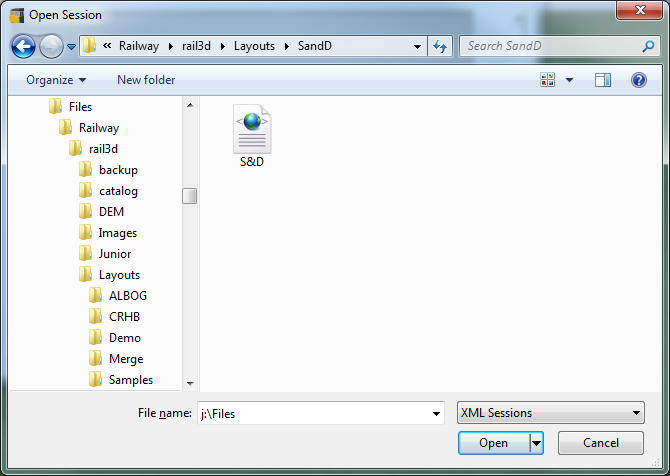
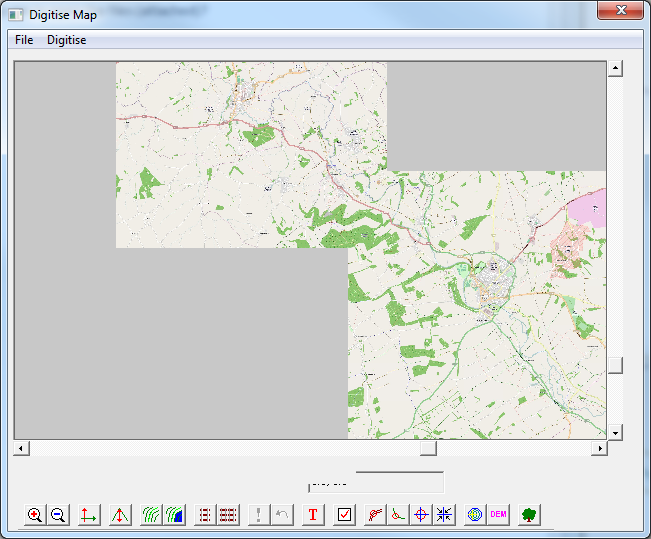
- You should now have the maps in the digitiser, ready to digitise the track.
The next stage is Importing Terrain
You can download the above map set and XML file from /tutorials/sdjrmap.zip To use these maps you will need to unpack all the files in the ZIP into a suitable folder, and edit the XML file to change the folder name.
MRG 1/29/2015 7:53:41 PM