Creating a loco with Sketchup
This tutorial is an overview of creating a model loco with Sketchup. It is not a guide to using Sketchup - there are plenty of very good sketchup guides available online, if you plan to use Sketchup to make models, watching the online video guides is time well spent.
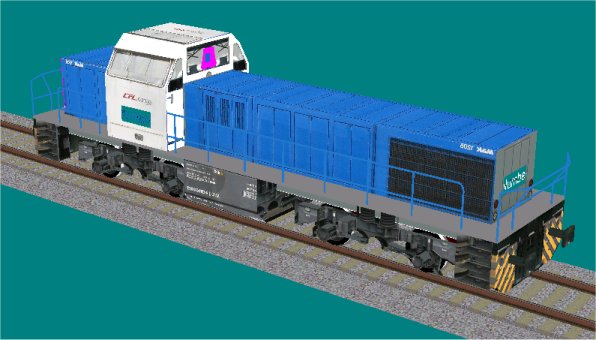
The same as Creating Simple Loco Models, we need to start by finding details, dimensions and drawings for the model.
For this model (the Vossloh G1206 in CFL colours) there is information and photos on line on pages such as http://www.rail.lu/materiel/cfl1500.html and http://en.wikipedia.org/wiki/MaK_/_Vossloh_G1206
A note of caution.
When I started on this model I had a lot of confusion between the different variants of Vossloh loco - the G1000, G1200 etc. Drawing and dimensions found on the internet were not always clear on which variant they applied to - and they differ in size and some details. I had to restart the model and change significant features becuase I had the wrong dimensions the first time. Check, check and check!
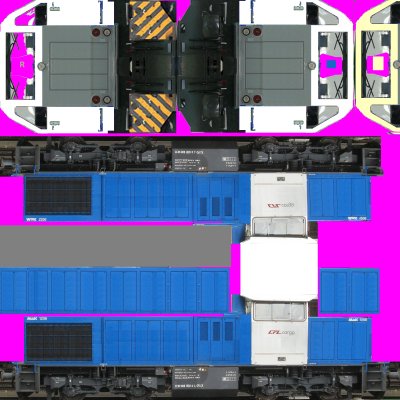
The Texture Skin
Again, we need to create a texture skin for the model.
Sketchup
Now we can start Sketchup and start building the model.
I use two ways to position elements in Sketchup:
1) By dimensions
2) By projection from the drawing.
Using Dimensions
Using Dimensions is fairly obvious. We use the Sketchup tools to measure position from known points using known dimensions.
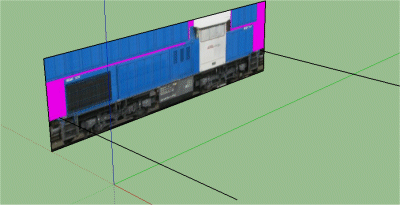
So for example, this loco is 14.70 metres long (over the buffers) and 4.22 metres high. So I can draw a panel of these dimensions in the editor along the main axis:
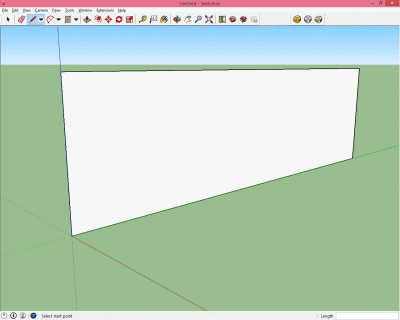
I can now load my texture into Sketchup and put the texture onto the panel.
A trick here - because I have setup my texture with the side profile the full width of the skin (at the bottom of the image) and I know this width (over buffers) is 14.7m - I can set my texture dimension to 14.7metres and Sketchup scales it to the correct size.
So I can paint this texture on the panel:
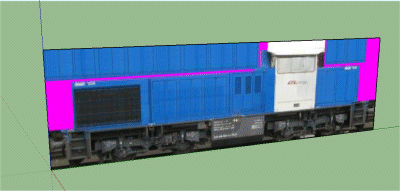
Because I have set the dimensions properly, the texture fills the panel from end to end. Again check and check again, getting the position and dimensions correct is important.
This panel is just a guide - It's not going to be part of the final model, but I usually add one or more panels like this (ie side and end elevations) while making the model as this is a useful guide.
In this case, I'm using the skin, but sometimes you can use a technical drawing as a guide layer:
Projecting from the drawing
By drawing projection lines from the drawing, I can set the position of elements on the model:
Here, I've projected out from the ends of the running plate to get the length and height of the running plate.
Now I can add a rectangle for the running plate:
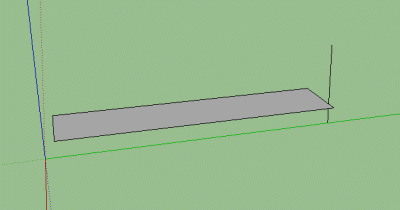
and use the push/pull tool to give it some thickness.
I continue adding elements of the model.
The box under the running plate:
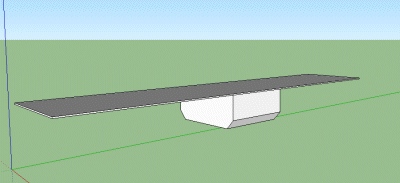
It is useful to put different elements into different layers - this allows me to show/hide different elements as I work on the model:
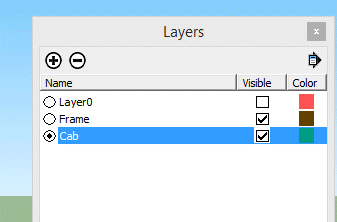
Here I'm using "Layer0" for the guide drawings, "Frame" for the main frame components and "Cab" for the cab.
So on the cab layer, I can start building the cab:
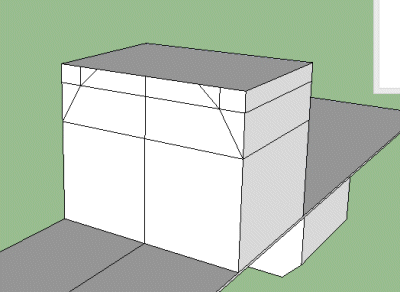
Here, I've started by adding a square block. I've measured the positions of the corners from the drawing and marked them on the block. Then I can remove the extra bits to shape the cab:
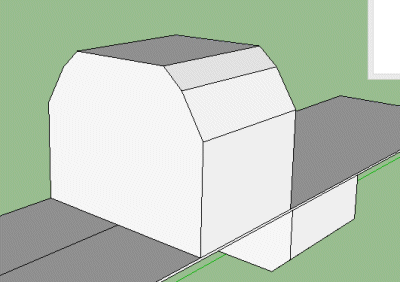
and so on...
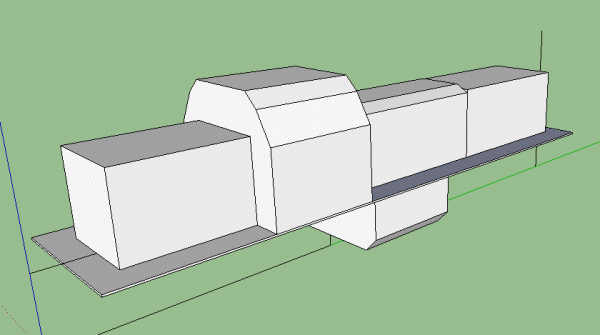
Exporting to Rail3D
At this stage I like to export the model to Rail3D so I can check that the size and position are right.
I use the Sketchup/Rail3D export plugin to export the model (without the guide layer!) to a Rail3D .STK file (note the Sektchup file was saved as "VossG1000" so the model in Rail3D will have the name "VossG1000" "VossG1000.1" etc
I now need the Rail3D Stock editor.
- Open the Rail3D Stock Editor
- Use the "New Model" command (see Creating Simple Loco Models) to create a new model - I called my new model "CFL.1100"
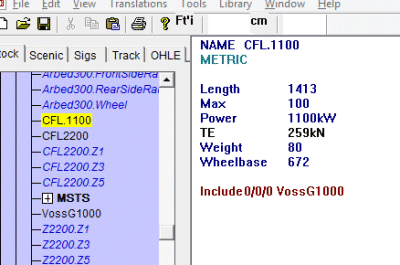
- I enter the usual details - Length, Max, Power etc
- Put the model exported from Sketchup in the relevant Rail3D stock folder and rebuild the stock index
- I can now use INCLUDE (as shown above) to include the exported component into my loco ("CFL.1100")
Save the Stock file, and I can now test the model in Rail3D.
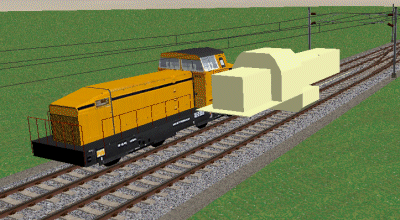
OK, it doesn't look great, but it gives me the chance to check the size is right.
It took about an hour's work in Sketchup and the Rail3D editor to get to this stage.
More components and textures
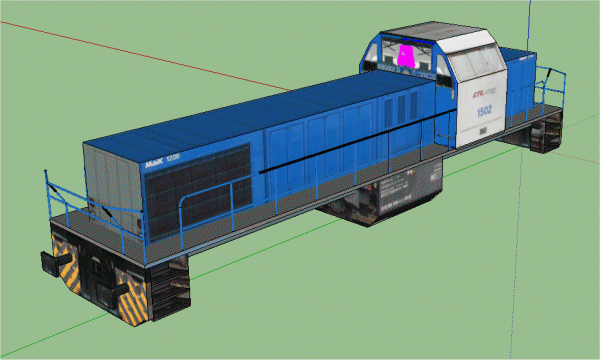
Lots more to do
- Add other elements, such as the buffer beams, buffers, steps etc
- Apply texture - using the Sketchup texture tools, apply the skin texture to each face and position as required
- The handrails were made by marking out the line of each rail and a circular cross-section, then pushing the circle along the marked out line.
At each stage, the model is saved and exported to Rail3D.
Bogies
I made the bogies as a seperate model. I start with a flat rectangular panel the appropriate size for the bogie, and apply the texture:
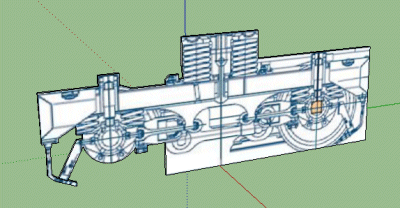
Here I'm using a line drawing version, rather than the coloured texture - but as long as they both line up, the final texture will fit the model.
I cut away the bits that are not part of the bogie
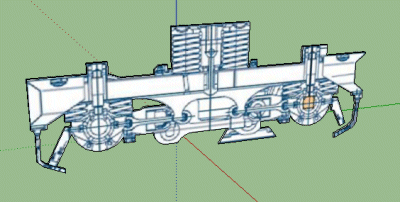
and use the push/pull tool to give the resulting shape some thickness
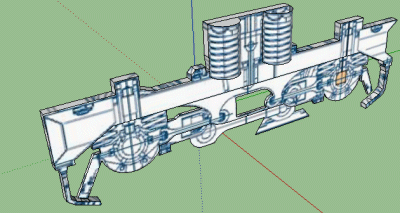
I copy the piece and reflect it to make the other side:
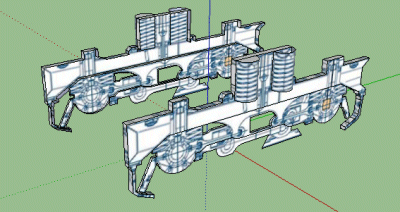
and add some cross-members:
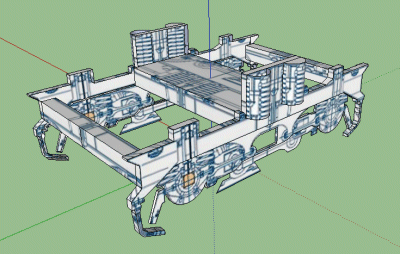
The result is exported to a Rail3D .stk file using the plugin.
Now I can attach the bogies to the loco using the BOGIE keyword.
I created the axle and wheels using the Rail3D editor tools as in Creating Simple Loco Models
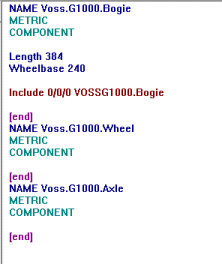
Making the bogies like this took about an hour in Sketchup.
MRG 2/6/2015 1:23:14 PM