Steam Engine in Sketchup
This page under construction
You can find a drawing of the LMS 4F here
First we need some dimensions - see the drawing above. This has some dimensions on it, but not all the dimensions we need - however, we can scale the drawing and read dimensions from it.
So, with a bit of measuring and some calculations, we can find the dimensions we need (in metres)
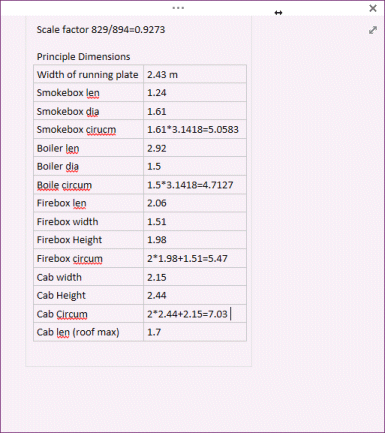
Now I can start preparing the texture skin.
I cut out all the main bits I need - the smokebox, the boiler, the frames, the cab etc:
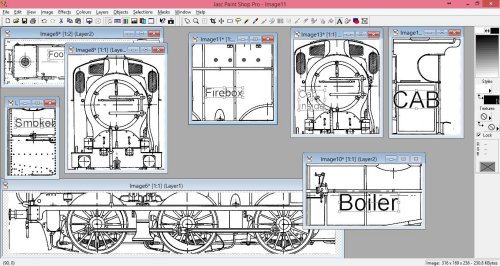
I've allowed for two cab pieces - one for the front (outside of the cab) and another for the cab inside - this will need to be fairly high resolution as it will be close up when in cab driving mode.
I need to stretch the boiler (and smokebox etc). From the notes above, I know the boiler is 2.92 metres long and 4.71 in circumference: so I resize the boiler section. At the moment it is 316 pixels wide, so I need it to be 316*4.71/2.92 in height - that comes out at 509 pixels.
So now I need to assemble all the pieces into one texture, the result should be square and a power of 2 in size:
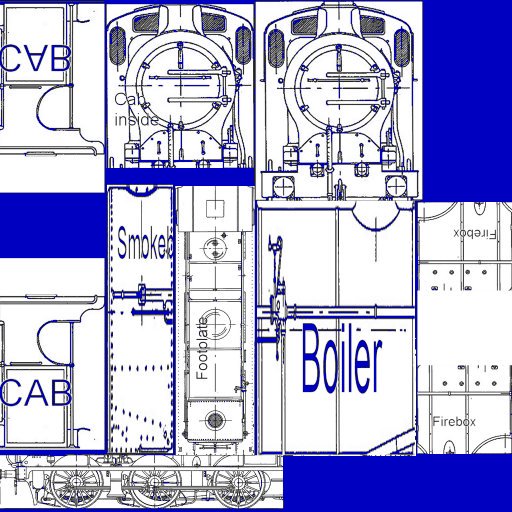
and I've still got a bit of room for more pieces (I'm bound to find some in due course) such as cab gauges and other controls. Scale varies (obviously) but it's helpful at this point to know that the cab (which is 2.15 metres wide) is 590 pixels wide (the whole image is 2048*2048 pixels).
This texture - which is composed of bits of the line drawing is going to be most useful while constructing the loco - later I will produce a properly coloured skin by making a coloured version of the skin (mostly black in the case of the 4F!). I've changed it from black lines to blue because that will make it easier to see what I am doing when I use in Sketchup (see below)
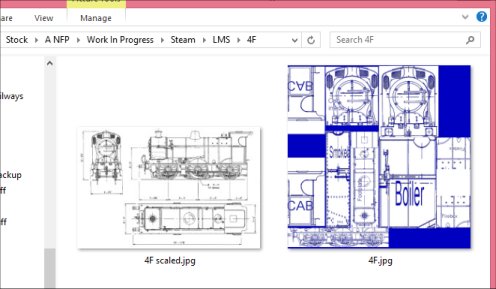
In my project folder I now have two images - the scaled line drawing and the composite skin:
Into Sketchup
Now I can start in sketchup.
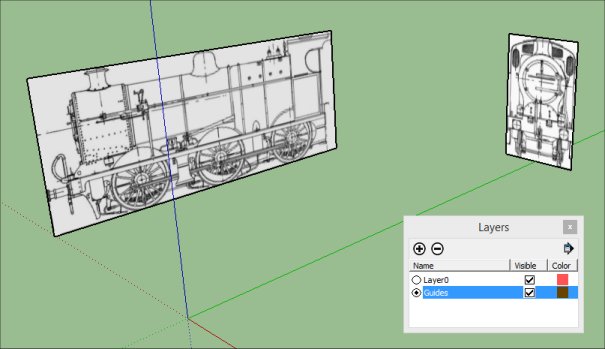
I start by adding a couple of guide panels, and texturing them with the scaled line drawing:
I'm going to add another layer for the frames and running plate, and start building the frame:
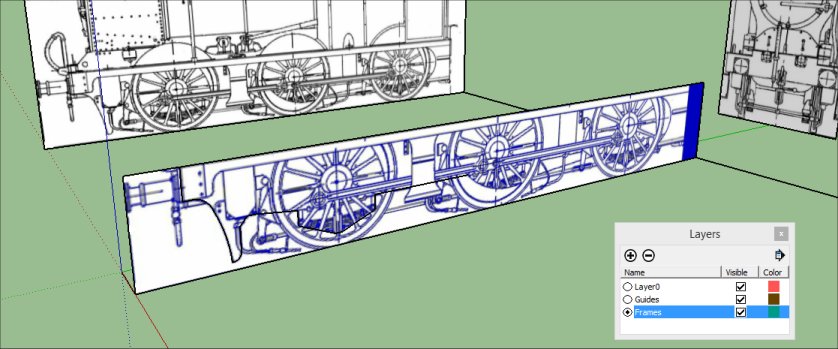
Here I've created a rectangular panel in the position of the frames and textured it with my skin texture (not the scaled line drawing, but the composite of all the bits). I've adjusted the texture position to fit the frame.
Next, I can use the drawing to cut away the bits that shouldn't be there:
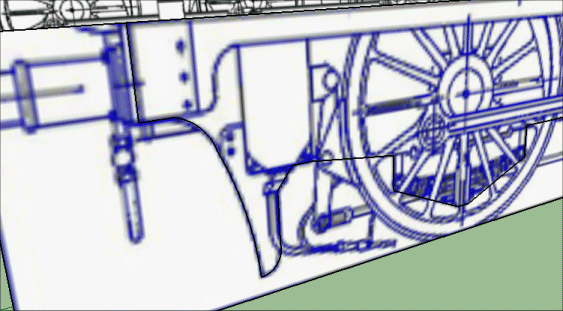

Next I use the push-pull tool to give the frame a bit of thickness.
Now I can select part of the frame and copy it to make the outer valance of the running plate:
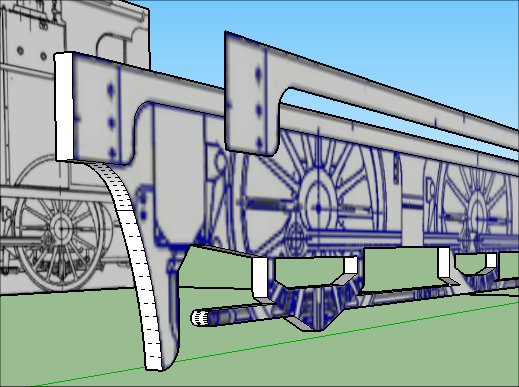
and again, use the push-pull tool to give this thickness.
Now I can copy both the frame and the valance, and reflect it to get the other side of the loco:
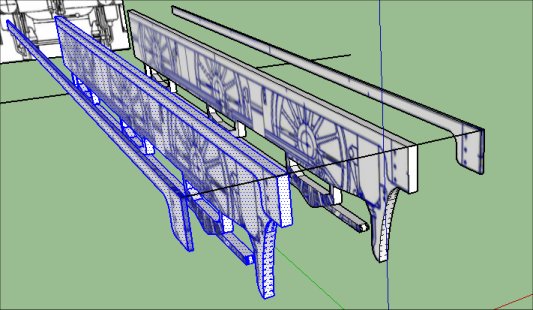
A rectangle on top makes the running plate, and this is textured with the composite skin as well:
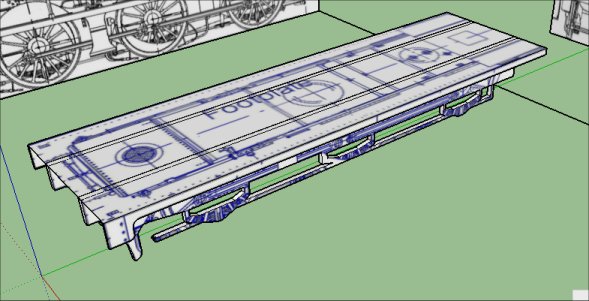
So far, it's taken me about two hours to prepare the textures and construct the frames.
The Boiler (etc)
The boiler is made from a cylinder:
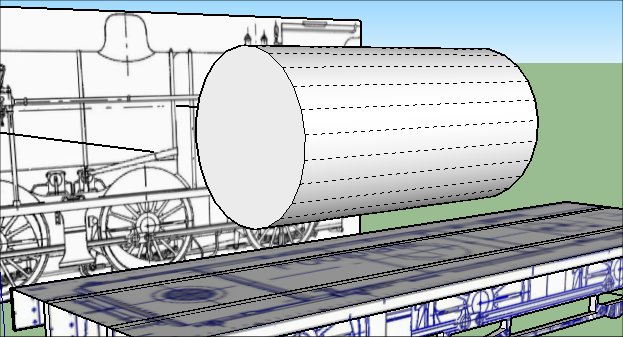
Before I apply the texture, I turn on "Hidden Geometry" in the View menu (the dotted lines above), this allows me to apply the texture to one of the panels:
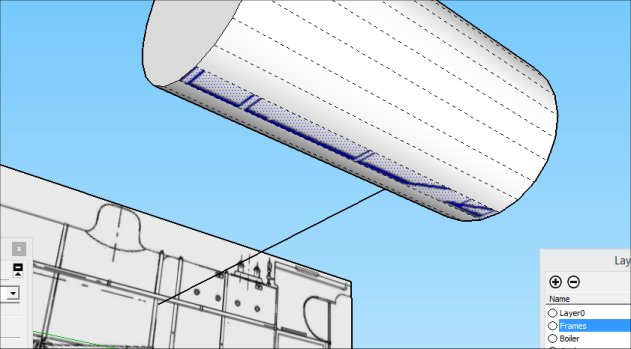
I've started texturing the boiler from the bottom - this way the "join" in the texture will be least visible. Notice also, that because I've put the boiler and the frames in different layers, I can hide the frames while I work on the boiler - this allows me to see the bottom of the boiler, which wouldn't be visible otherwise.
I can now continue pasting the texture round the sections of the cylinder:
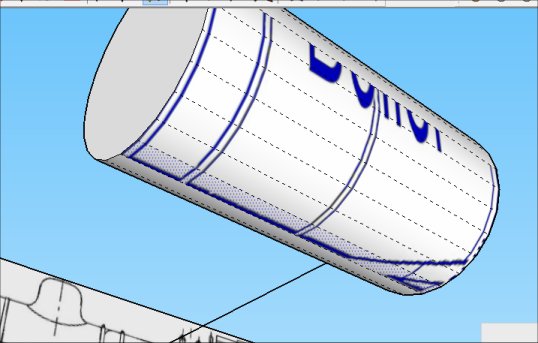
and because I made the boiler section of the texture the same ratio as the length to the circumference, the texture should wrap right round neatly. And it does:
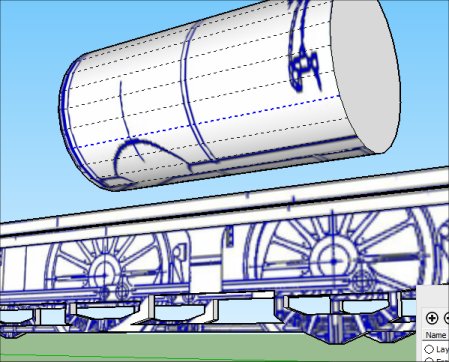
and the same process for the smokebox:
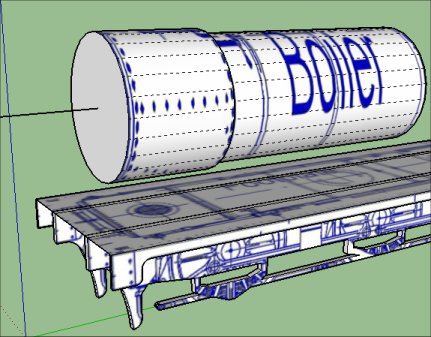
As I said before, I've left space in the texture skin for anything else I need I find later. Here is an example, the smokebox needs some support - the smokebox saddle.
I did some more searching on the internet and found this image which shows the smokebox saddle and construction nicely. Ah, actually it shows something else as well - the frames extend higher than I thought - so I need to go back and extend the frames.
Fortunatly this isn't too difficult and (more by luck than judgement) I have left the required bit of the texture skin in place - I meant to use it for the wheel splashers.
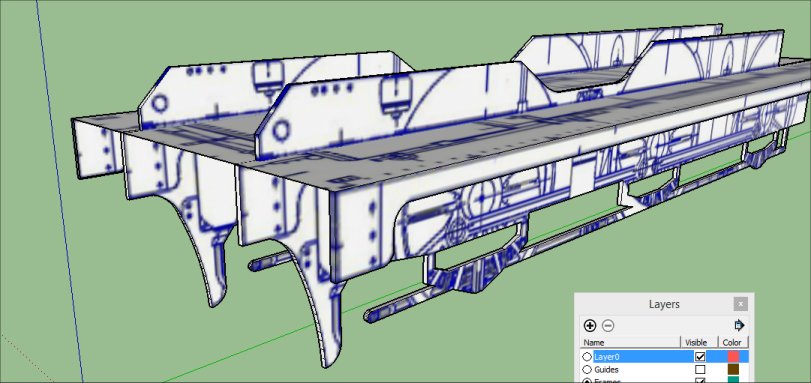
Also, having looked more closely at the photo, I've decided to delete the smokebox just created and do it again:
What I'm ging to do this time is to cutout the front to of the smokebox:
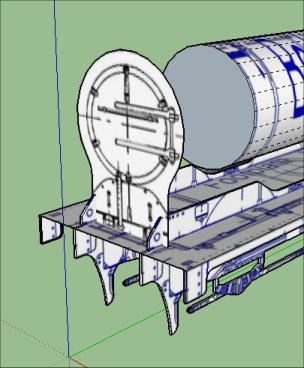
and then use the push pull tool to extrude the shape of the smokebox and saddle:
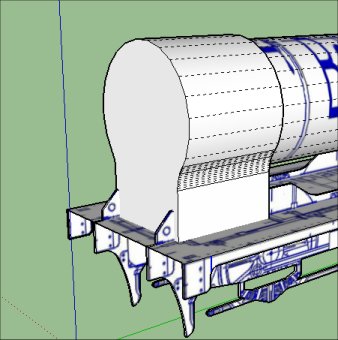
Then I use the same technique as before to wrap the appropriate part of the skin round the smokebox:
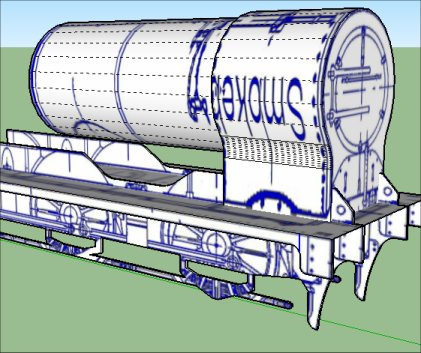
The firebox is done in much the same way:
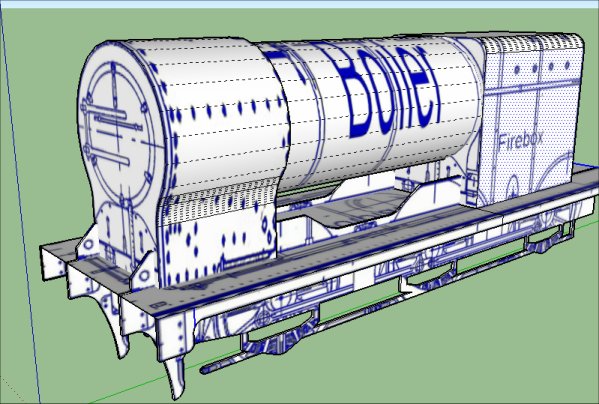
The Cab
I start the cab in the same way as before - add the end profile
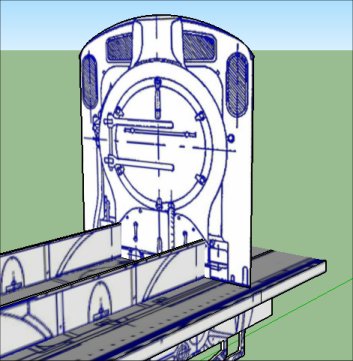
then push it out to length
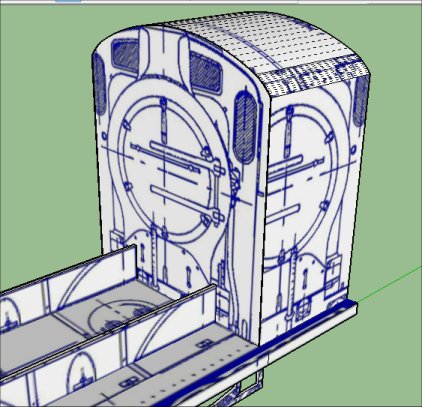
and cutaway the inside, pushing the inside wall back into leave thin walls.
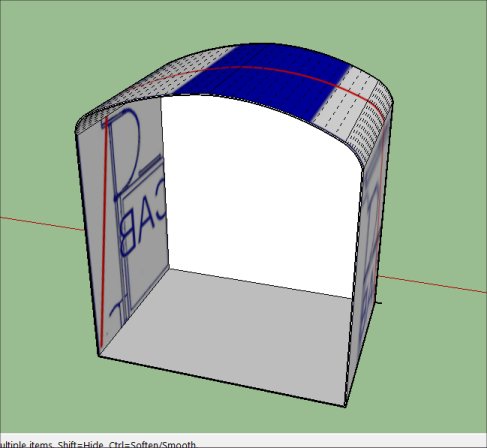
The side shape is going to be difficult to cut out, so I'm going to do it a different way.
I start be adding a guide panel lined up with the cab, but offset to one side, and with the scaled texture on it.
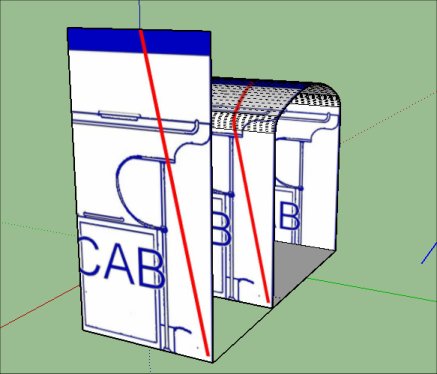
I can fairly easily mark out the shape I want to cut-out on this flat panel, then I "push" that shape through the cab model.
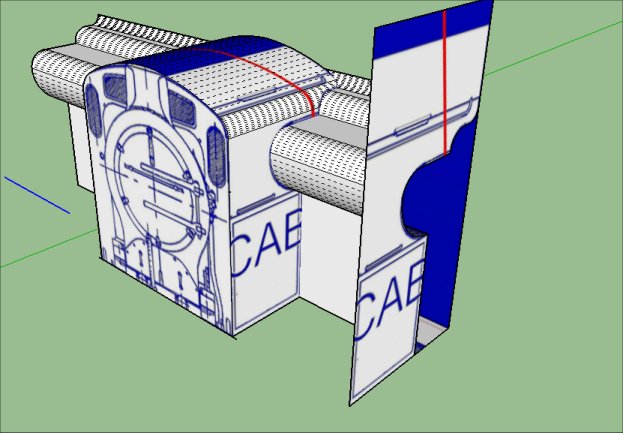
Now, I use the "Intersect with model" tool and the different surfaces cut where they intersect.
So all I have to do is remove the bits that I don't want and I'm left with the cab:
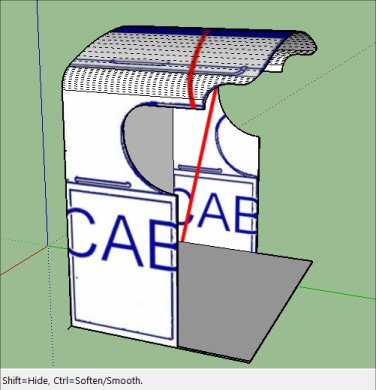
I cut out the windows:
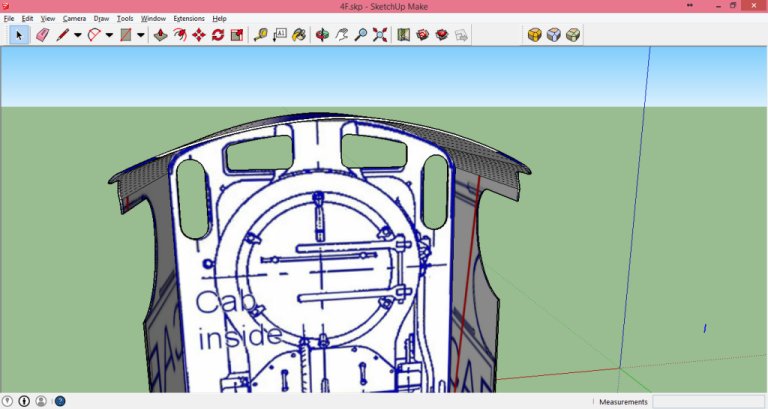
and check the alignment and position of all the elements:
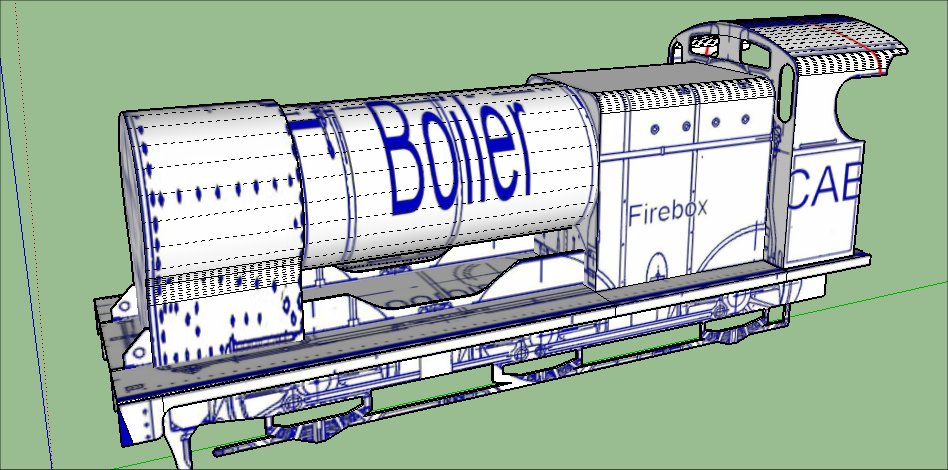
Ok. Looking good. More to do, including chimney, dome and steps etc, but I'm ready to try exporting to Rail3D.
Total project time so far approx 4 hours
Rail3D Editing
Save the Sketchup file and export the model using the Rail3D export plug in. The sketchup file was called 4F.skp to the export will be 4F.stk.
At this stage my project folder contains:
- 4F.SKP - the sketchup file
- 4F.SKB - sketchup backup file
- 4F.jpg - the skin I've been using in Sketchup
- 4F.STK - the export from sketchup
Rail3D won't read the JPEG file - I should have converted it to a .BMP or .TGA before. Copy or convert the file to .BMP
Open the Rail3D editor and rebuild the stock indexes so that the new file is detected.
Browse to the relevant folder in the Rail3D editor and locate the file exported from sketchup:
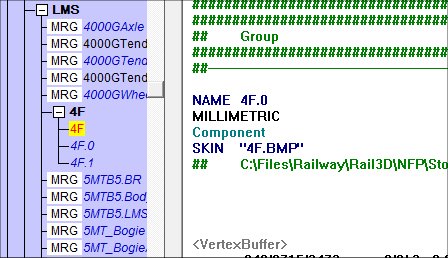
In my case Sketchup has created three components: "4F", "4F.0" and "4F.1".
I need to add the Rail3D information, but I don't want it to be overwritten when I next do an export from Sketchup, so I'm going to create a new file "LMS4F" using the Editor right-click "New" commmand, my new model will be "LMS4F" and while I'm there I'm going to create components for the axles, wheels and coupling rod:
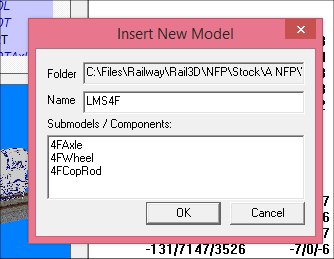
This way, any bits I create in Rail3D (like the wheels) will be safe from being over-written by another export. It also has the advantage that when I want to create another version of the 4F - the "Midland 4F" (or even the "S&D 4F") I can just copy and adapt the main top-level component and it can reference the same Sketchup export for the shape.
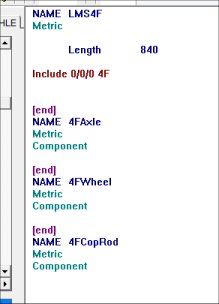
The minimum I need in the LMS4F "parent" file is Length and INCLUDE 0/0/0 4F:
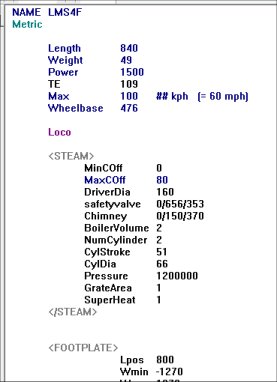
Eventually, I'm going to want lots more info - the steam parameters etc:
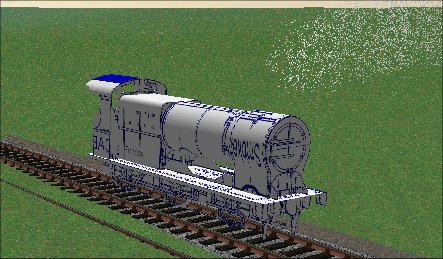
Once I've saved the file, I can try the model in Rail3D.
Wheels and Bits
Ok, it works, but a lot more work is needed. For one thing some wheels would be a good idea.
I usually create wheels using the Rail3D Editor tool (not always, I used Sketchup to make the wheels for the Bullied West Country - but they are a bit special).
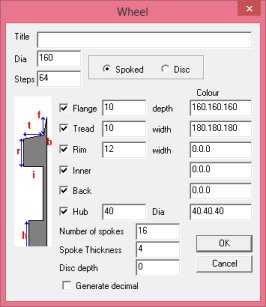
The 4F has 16 spoke wheels of diameter 160cm, so I can use the Wheel tool to create the wheels:
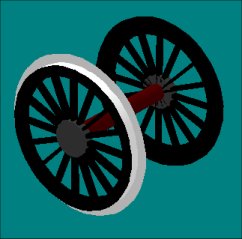
The Axle component consists of a cylinder and INCLUDEs the wheels at each end of the axle:
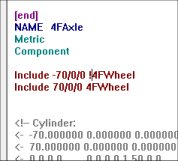
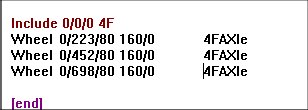
So now I can add the three axles to my parent model:
That looks better:
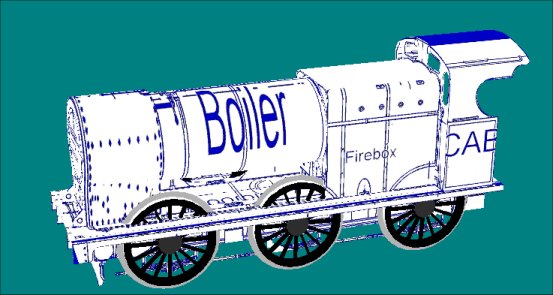
I need to add some balance weights to the wheels at some point.
The Dome and Chimney
Now for one of the difficult bits: the dome and the chimney. The tricky bit is to get them to fit properly to the top of the boiler - the dome epecially has a complicated curve to it.
I started by tracing out the outline of the dome:
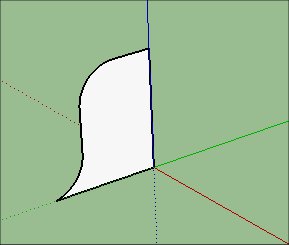
and then using the "Follow Me" tool to drag this shape round in a circle:
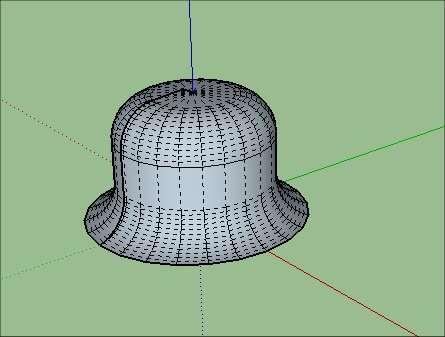
That's the basic shape - and so far not difficult. The problem is how to make it sit on a curved boiler top properly.
I tried various techniques, in the end I dowloaded a Sketchup Extension: clf-shape-bender and used this to bend the bottom of the dome to shape by copying the curve of the boiler top and using that as a shape to bend to:
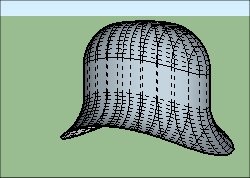
The next - and tedious job - was to apply a texture (actually just a black swatch, but still part of the texture) to the dome.
Finally it can be positioned on the boiler top:
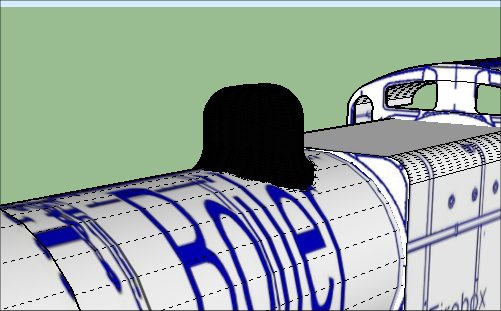
It makes a nice fit. It's not perfect (I'm not going to tell you what is wrong with it) but it will do the job.
As it is, it has taken as long to do just the dome as it took to do the boiler, firebox, smokebox and cab.
The Chimney turned out to be a bit easier (or at least didn't take as long)
Start by marking out the section of the chimney:
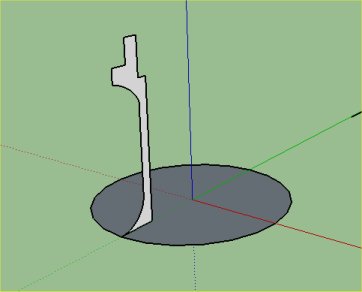
and using the follow me tool round the circle to make the solid body:
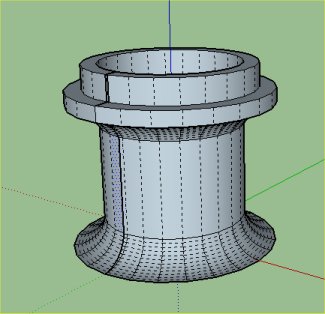
Next I used the Shape Bender tool to shape the bottom flange to the boiler shape:
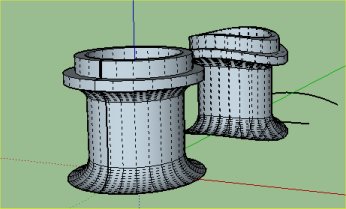
Oh dear - it's bent the top as well :-( that won't do.
Second attempt.
I split the chimney into two - the flange at the bottom and the "pipe" and top section. Then I can "Shape Bend" the bottom bit without messing up the top:
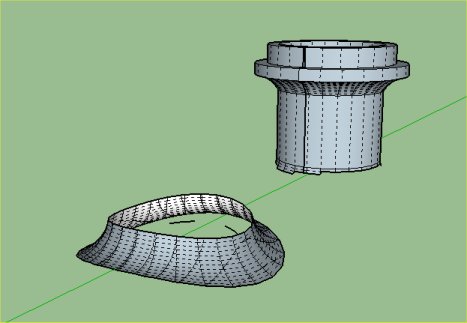
and put the two bits back together:
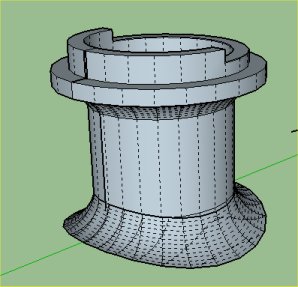
And I can now fit it to the loco:
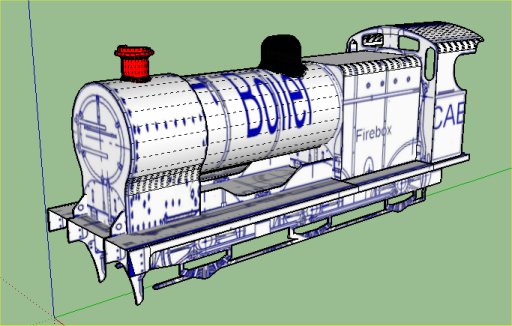
Note on texturing the chimney and dome
You may wonder why I didn't just Sketchup's built in Black material for the dome and chimney.
Two reasons:
- The Exporter only exports elements with bitmap textures - so anything using Sketchups built in materials won't be exported.
- If I use textures, it will be easy to make a different version later in a different colour - all it needs is a new skin. If I had used materials, I would have to go right back to the model to make a simple colour change.
So, basically, I want everything to be textured from my skin.
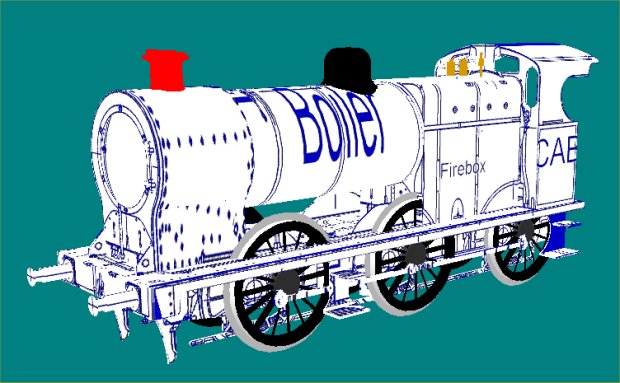
So, why is the chimney red?
The way I textured the dome was to create a black "swatch" in the skin bitmap:
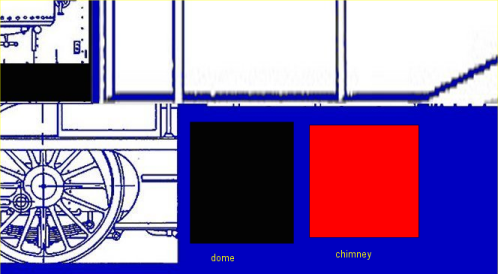
and use that to texture the dome.
I used a different patch to texture the chimney (because I am aware of at least one variant of the loco where the chimney and dome were different colours). I'm only using red during the painting phase so that I can be sure of using the right patch in each case. Once I've finished they will both be black in the final model.
Smokebox Front
The Smokebox front needs a bit of work.
I mark out a circle and the shape of the smokebox door:
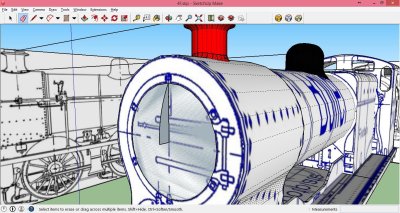
And push that round the circle to create the door:
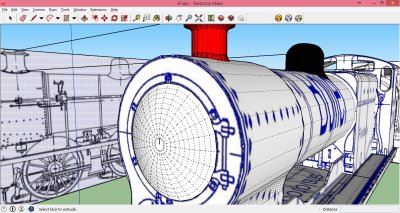
And apply the texture from the front:
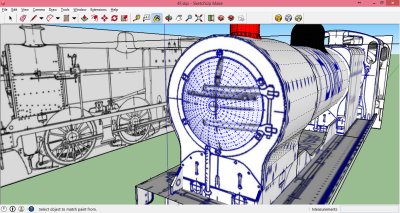
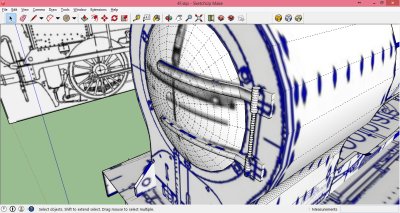
Now I cut out part of that and push it out to make the hinge straps:
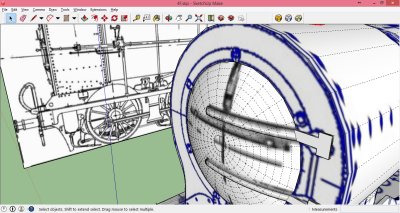
And add some cylinders for the hinge itself:
Buffer Beam
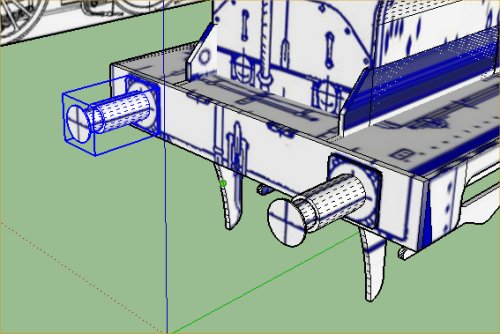
For the Buffer beam, I simply add a rectangular section to the front of the frames:
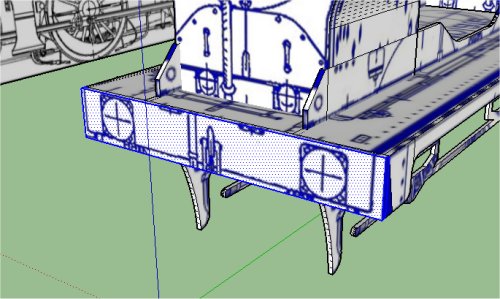
The buffers are made from circles
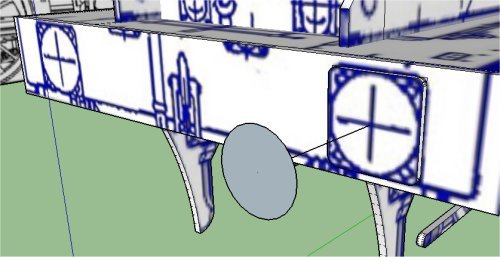
and extruded
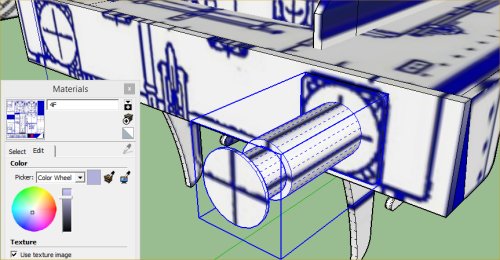
then copied across to the other side
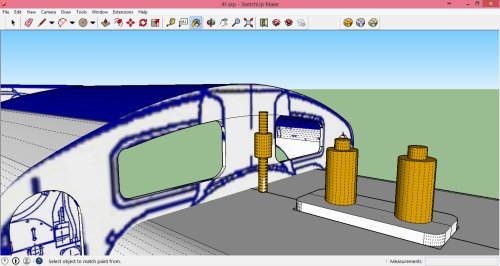
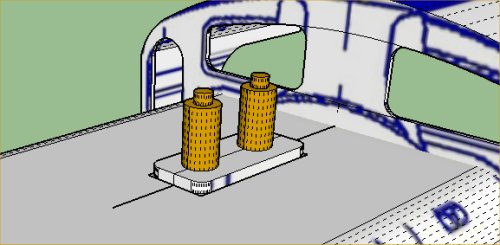
Boiler Fittings
The safety valves and whistle are made the same way from cylinders:
Steps
I marked out the steps on the guide:
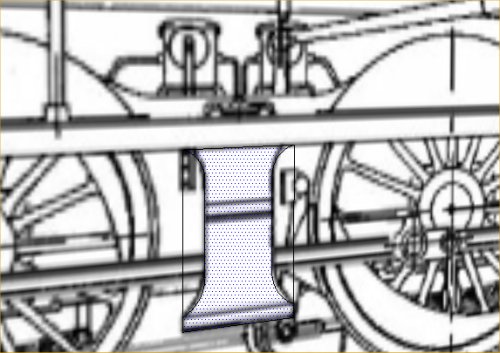
and cutaway the rest to give the step shapes:
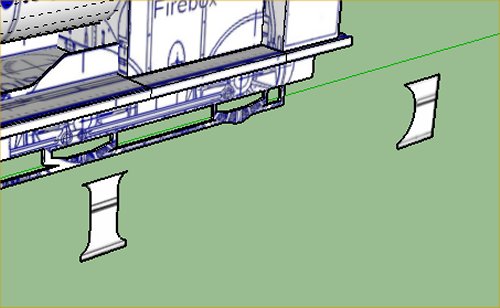
a bit of push-pull to give the 3d shape
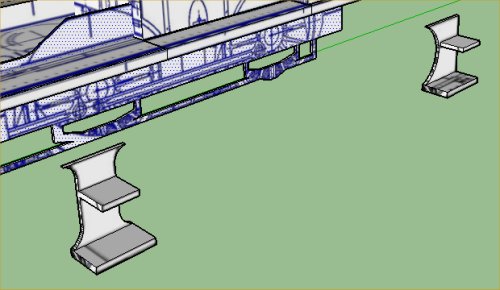
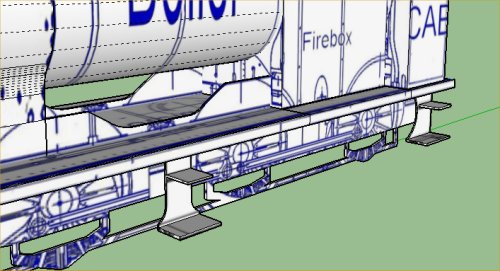
and after making them components, I can then fit them to the loco (and copy for the other side)
Coupling Rod
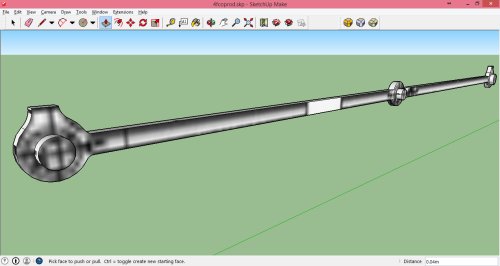
I made the coupling rod as a new model (because I will need to add it as a seperate component) by cutting out from the guide and the pushing pulling the various bits to get the shape I wanted.
Putting the bits together
So, I export the models (the 4F body, and the coupling rod) to Rail3D .STK files and load up the Rail3D editor.
I rebuild the stock indexes - so the editor picks up the new components, and open the 4F model.
First I add a crank component to hold the coupling rod:
Wheel 0/223/80 160/0 4FAXle
Wheel 0/452/80 160/0 4FAXle
Wheel 0/698/80 160/0 4FAXle
Wheel -90/452/80 160/90 4FCrank
Wheel 90/452/80 160/0 4FCrank
[end]
NAME 4FCrank
Metric
Component
Motion1 0/27/0 4FCopRod
This simply gives a rotary motion to each crank, and then the crank calls the new Coupling Rod component using Motion1.
MRG 2/18/2015 9:26:20 PM