Electrification
Rail3D includes a powerful and flexible system for overhead electrification
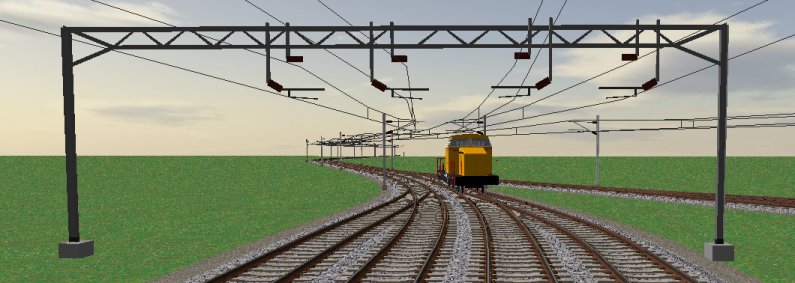
To set track to have electrification
- Double click a length of track: the track link dialog opens:

(if the node dialog opens, you probably clicked on a node, not a link, close the dialog and try clicking on a link between the nodes)
- If the "OHLE" checkbox is ticked, the link section will have overhead electification
- You can click the "Change" button next to the OHLE type box to change the electrification type.
- The default is the standard 25kV single pole:
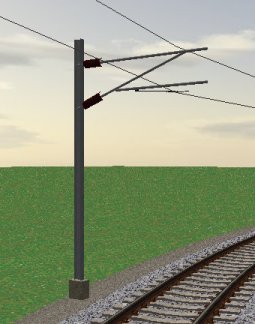
Laying track with OHLE electrification
Setting lots of existing track to electrifed as above is pretty tedious, it's better to start with the right settings.
- Open the "Track Laying Options" dialog from the "Track" menu, or by clicking the track laying options button on the toolbar (
 )
)
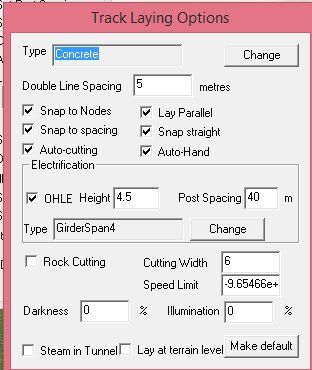
- The Track Laying options has many settings that control how new track is laid.
- The Sections in the "Electrification" group control the electrification settings for new track:
- If "OHLE" is ticked, new track will be electrified
- Height sets the height of the contact wire at the nodes
- Post Spacing controls how far apart the support posts are
- Type sets the type of OHLE. You can click the "Change" button to choose a different type.
- Note that OHLE type and post spacing are LINK settings - you can edit the link (as above) to change these on individual links. Wire height is a NODE setting - it is set on each node, you can edit this on a node by double clicking a node.
- Other settings in the Track Laying Options dialog control things like link speed limits, track spacing and darkness in tunnels.
- When you have set the setting you want, you can click "Make Default" - this will copy the current settings in the dialog to the layout defaults so that next time you open the layout, the track settings will default to this.
Having set the settings try creating some new track - it should have the electrification type selected.
Changing existing track
There is also a way we can update existing track to a new electrification type: the "Track Setting Train". This is usualy quicker (and definitely more fun!):
- Pause the simlation.
- Place a train on the track you want to modify. (or select an existing train)
- Open the "Track Laying Options" from the "Track" menu as above
- Set the settings you want - ie electrified, OHLE type etc
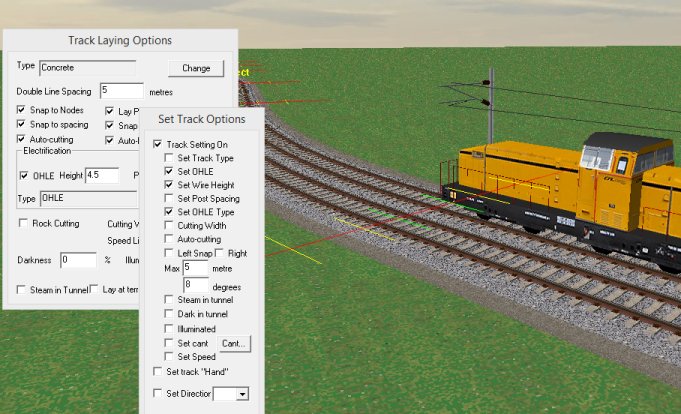
- Open the "Track setting options" dialog from the "Track" menu.
- Tick "Track Setting On"
- Tick "Set OHLE", "Set Wire Height" and "Set OHLE Type"
- "Set OHLE" means set the OHLE state to the value in the "Track Laying Options" dialog. So if "Set OHLE" is ticked and "OHLE" is ticked in track laying options, OHLE will be set on the track. If "Set OHLE" is ticked and "OHLE" is not ticked in track laying options, OHLE will be cleared as the train moves along. If "Set OHLE" is not ticked in the Track settings otpions, the OHLE setting of the links will not be changed.
- "Set Wire Height" means set the wire height (At the nodes) to the value in the track laying options dialog
- "Set OHLE Type" means set the OHLE type to the value in the track laying options dialog.
- "Set Post Spacing" means set the link post spacing set to the value in the track laying options dialog
- Unpause the simulation and follow the train along the track: as the train runs along the track it sets the track to the settings specified by the dialogs. Try experimenting by turning different options on and off and changing the values.
The Track Setting Options dialog is a very powerful tool and can do other things:
- Set Track Type.
- "Snap" track: If "Left Snap" is ticked, then as the train runs along the track, any adjacent nodes on track on the left of the line the train is running on are "snapped" to line up at the specified track spacing. Similarly "Right snap" snaps nodes to the right. Note the Max metres and Max degress options: these specify the maximum range to snap nodes and the maximum angle of the nodes (8 degrees will avoid the snap tool messing up pointwork). The snap tool can handle multiple tracks, so if (for example) you had a yard with ten tracks, you could set max metres to (say) 50 and run the train along one line - it will snap the other lines to line up neatly on multiples of the track spacing. Warning: this is very powerful, if you're not careful it can mess up complicated junctions, so until you are sure how to use it, save you work first!
- "Set Track Hand" sets the track sides to left and right so that things like OHLE posts and platforms are on the outside (see below). Rail3D normally aligns track automatically like this, but depending on the order things are doens in, it may not come out right. Running the track setting track with "Set track Hand" will often fix things.
Track "Hand" and Electrification
Rail3D normally places OHLE posts on the outside of double track.
However, sometimes - depending on various things - it might not come out right:
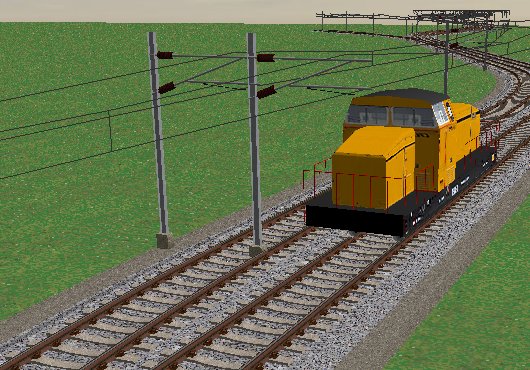
If you need to change this:
- Right click the track section, and select "Swap track side"
- The link should update with the posts on the other side.
Alternately, running the track setting train along the line with "Set Track Hand" (as above) will usually sort it out.
Post Spacing
Rail3D spaces the OHLE posts according to the "Post Spacing" setting in the track laying options
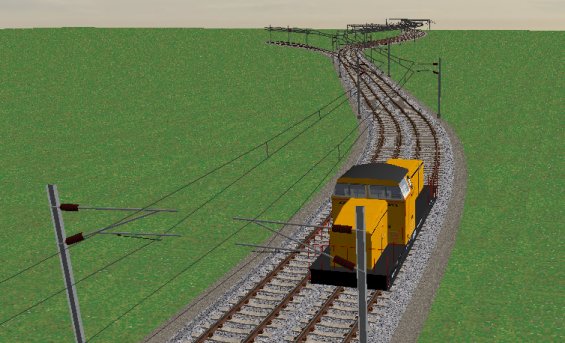
- Rail3D does not use the exact value specified, but will adjust the spacing to fit a whole number of posts along the link. IE, if a the post spacing is set to 40metres, and the link is 60metres long, Rail3D will either use three posts 30m apart, or two posts 60m apart.
If you have tight curves, you may need to add more posts to get the wire to stay above the track (as above):
- Double click the track section (link) and the edit link dialog opens:
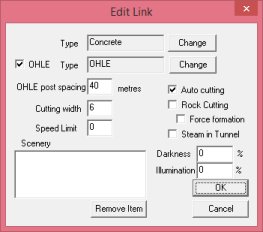
- Adjust the post spacing (eg change 40 to 30) and click OK
- The link redraws with the new spacing
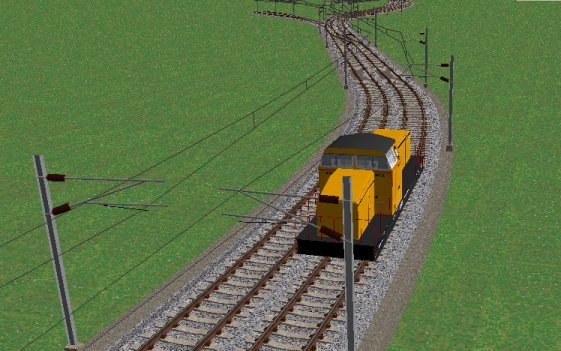
You will probably need to experiment with the value to find the best fit.
And of course, if you have a lot of track to do, you can use the Track Setting train tool to change the post spacing value along a long line of track.
Multiple track electrification
For multiple tracks (ie more than two) we need to use different types of electrification models.
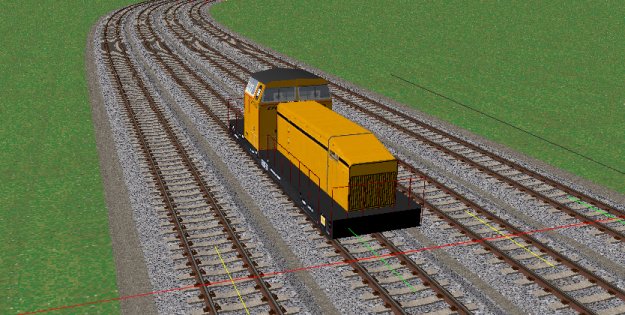
To start with, apply electrification to each line using one of the electrificatipn types without a pole:
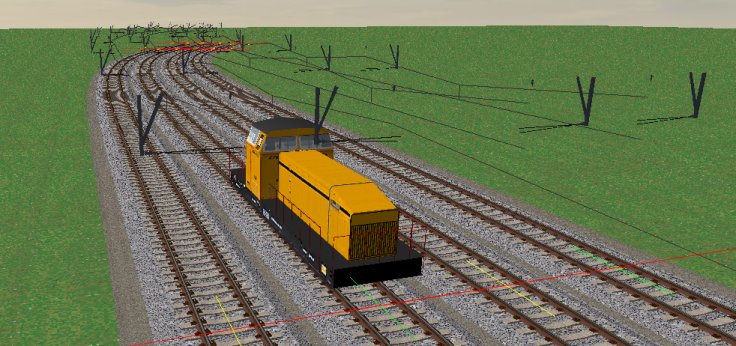
the above uses the Belgian be_ohle_hanger type.
Finally, we apply a gantry type (in my case BE_4track_gantry_s) to one of the outside tracks:

NB, the gantry usually goes on one of the outside tracks, but it does depend on how the item was designed, there are some that go on centre tracks etc.
MRG 9/17/2014 2:54:56 PM