Mixed- Gauge And Interlaced Track
When you are laying track in the normal way in Rail3D, using the mouse to drag nodes, it is not possible to put nodes less than 1 metre apart, because of the automatic snapping. Most of the time this makes sense — it would be a nuisance if you had to zoom in close to get each individual track joint to line up.
However, there are a few situations where it would be nice to have nodes close together but not snapped together. If you are faced with these, it is nice to know that it is possible, if not immediately obvious…
1 Laying closely-spaced nodes
The “secret” is that Rail3D is perfectly capable of distinguishing nodes as close together as you like (within the precision of its internal variables, of course). It is only the user interface that doesn’t allow you to put them less than a metre apart.
How you approach it depends on how much of a perfectionist you are, and how confident you are that you will not need to modify the track once you have laid it. There are two possible approaches for a precise result: using tracksetting or a script. And there is a reasonably effective way of bodging it…
In either case you would start by laying a first track as a template to stick the new nodes to. Because of the snapping effect, it will be difficult or impossible to adjust this track afterwards, so make sure you have made all necessary edits before going any further.

First track laid, nodes inserted where necessary, bridge scenery added
1.1 Tracksetting
If you are using tracksetting, the next step would be to lay the track you want to interlace parallel to the guide track with a temporary “normal” track spacing (say 3 or 4 m). Make sure that you lay at least one node before and one node after the section that will be merged.

Second track laid — make sure autocutting is off on the bridge
Then set the track spacing to the real value, open the tracksetting dialogue with the option “snap nodes to left” [or right, as appropriate] selected. Follow a train along the guide track, and switch tracksetting on over the section that is to be interlaced. You should see the nodes snap across into place.
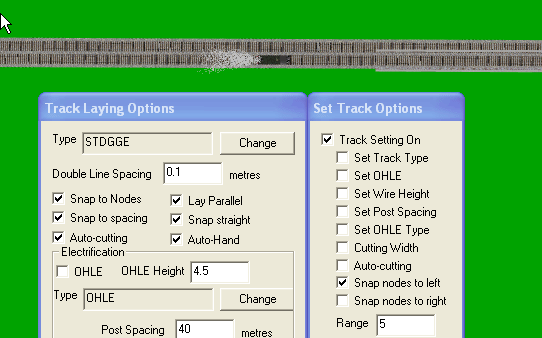
Setting up tracksetting
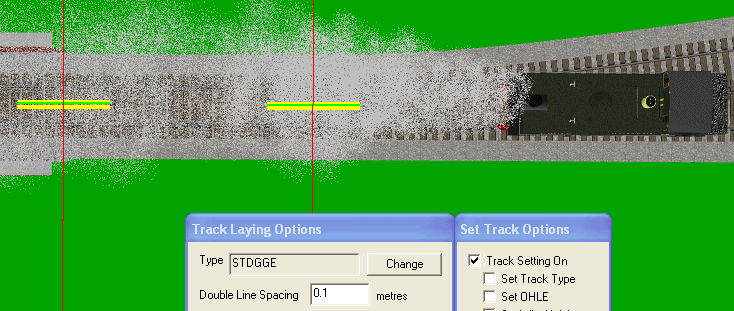
The result — sorry about the steam!
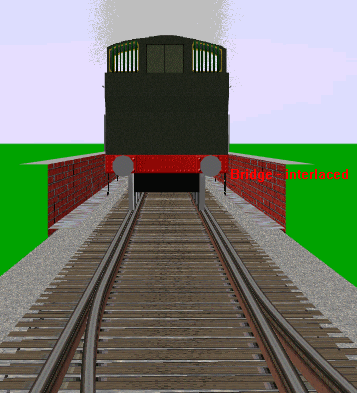
In this shot you can see that the loco is correctly aligned with one set of rails
[Haven’t tried this yet, but…] It should be very straightforward to write a script to iterate along the guide track laying a new track at a defined spacing. You just have to be careful that the nodes at either end of the new track are spaced more than a metre out, otherwise you wouldn’t be able to connect to them.
1.3 Just do it!
Alternatively, for a quick and easy approach (with less precision), just stagger the joints:
2 Interlaced track
Interlaced track is often used to avoid the need for pointwork where a double-track line has to be reduced to single-track for a short distance, e.g. on a bridge, or for trams running through a narrow street. One special case (difficult but not impossible to do in Rail3D) is where it is not convenient to have a switch mechanism directly at the point where two tram routes diverge, so you have a switch leading into a section of interlaced track before the junction.
It’s not that diificult, mrg ;-)
Typically, the separation of interlaced tracks would be somewhere of the order of 50–100mm.
3 Mixed-gauge track
This is the situation where two railways with different track gauges share a common trackbed. In most cases, a “three-rail” setup is used, with both gauges using the same rail on one side, but different rails on the other side.
This means that narrow-gauge vehicles will be “off-centre” compared to standard-gauge vehicles. If we were to use a dummy “three-rail” track model in Rail3D, we wouldn’t get this offset, and trains would appear not to be running along the rails.
We can model this in exactly the same way as interlaced track, but we have to calculate the “track-spacing” in such a way that one rail coincides. This means the spacing has to be half the difference between the two gauges.
3.1 Example
Metre gauge (1000mm) and standard gauge (1435mm)
The centreline of the metre gauge track has to be offset from the standard gauge by
(1435–1000)/2 = 217.5mm
3.2 More than two gauges?
There are a few places in the world where more than two gauges meet in the same station, and four-rail track does exist, but is very rare (apart from places like factory test tracks, of course).
The trick is to use the middle one of the three gauges as the guide track, and put the others initially on either side of it:
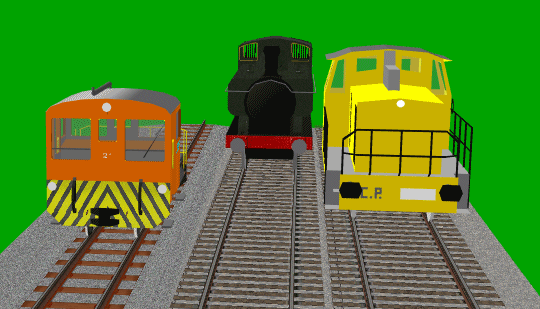
Metre, Standard and 1668mm gauge (Iberian broad gauge)
You can then do tracksetting in two steps — in this example the centreline of the narrow gauge will be 217.5mm to the left of that of the standard gauge, as above.
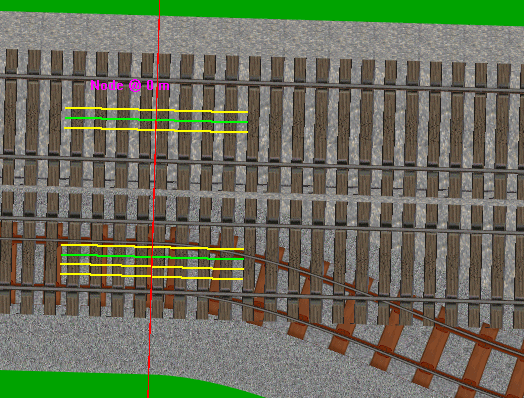
metre gauge has been shifted to the correct position
while the broad gauge will be (1668–1435)/2 = 116.5mm to the right
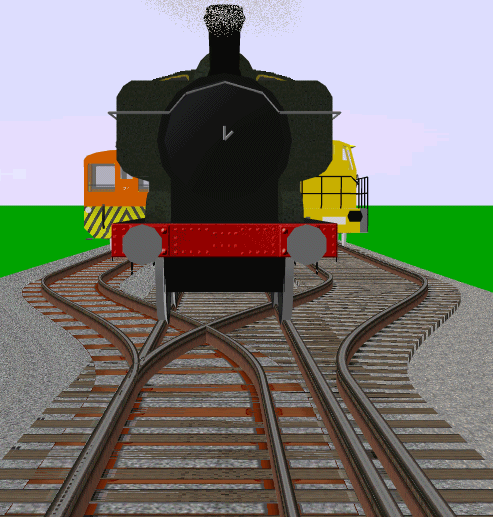
Ah, but can you do four gauges?
Rail3D signals controlling access to a section of interlaced/multi-gauge track will recognise the fact that the tracks are overlapping, because the centreline of one falls within the autocutting width of the other. To get this to work, you will have to run “verify intersections” or close and reopen the layout after laying the track.
Signals actually on the interlaced/multi-gauge track section seem to come under the heading of “can be done, but probably shouldn’t be”. In prototype practice, when you have signals on mixed-gauge track, they normally apply to trains of all gauges on that section of track (with the possible exception of signals controlling junctions that apply to one gauge but not the other).
See Roland Smidekal’s site for point indicators used on mixed-gauge turnouts.
The following hasn’t been tested, but what you would probably have to do in Rail3D is place signals on the standard gauge node and the corresponding narrow-gauge node, but make one of them hidden, and script them so that the visible one displays the correct aspects for both. You would have to place the signals and write the scripts before you snap the nodes into position, so it would be messy to set up.
5 Resources
import